
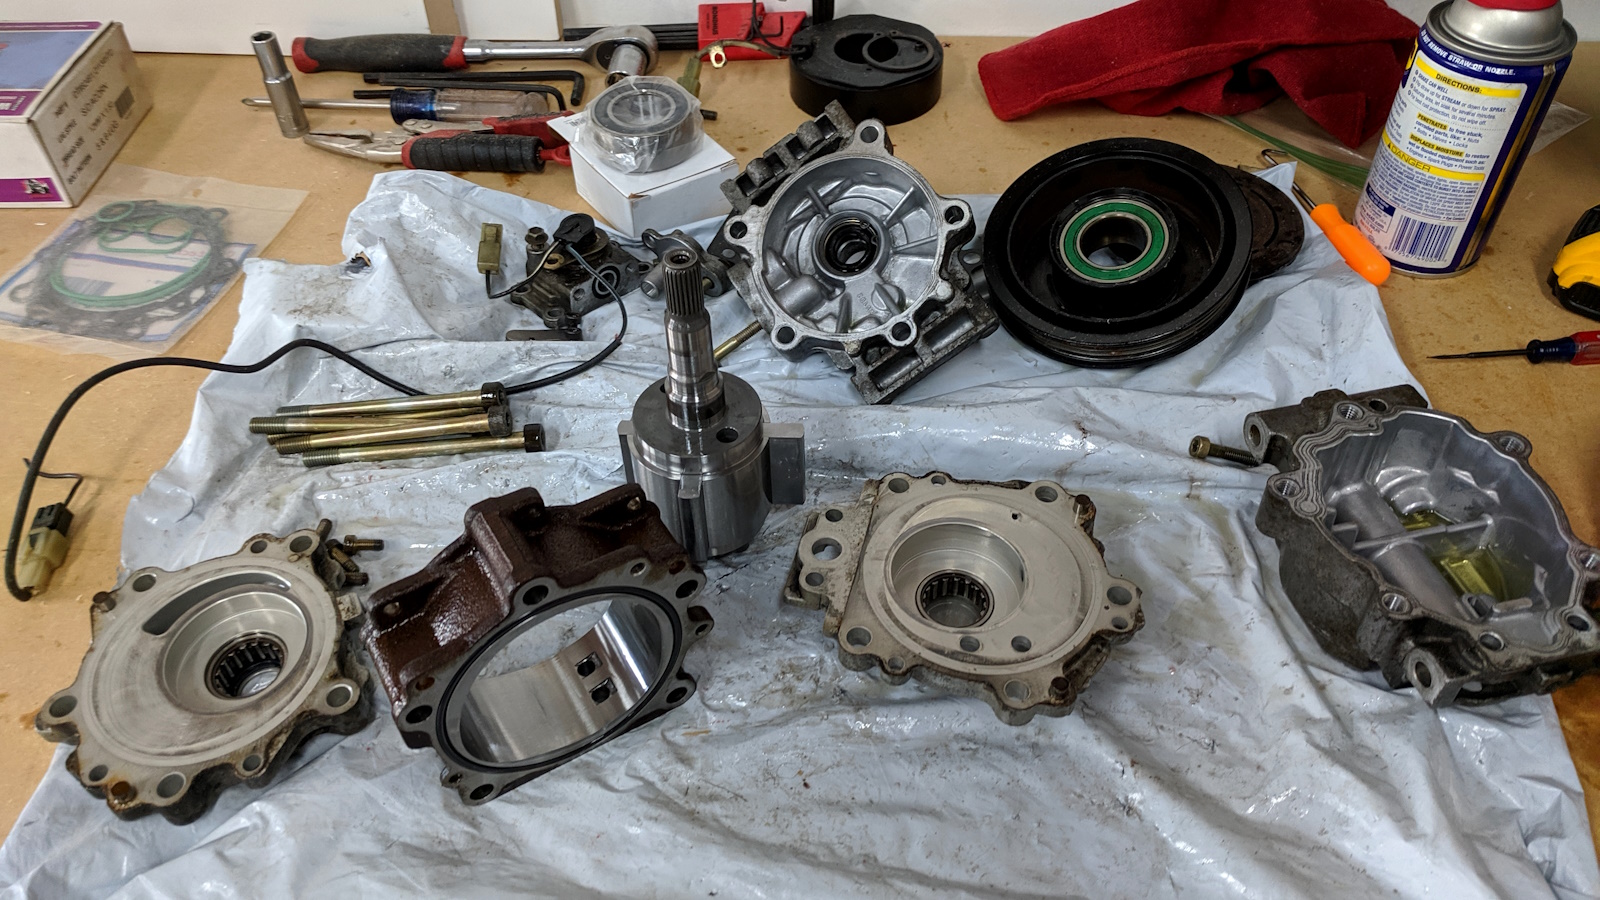
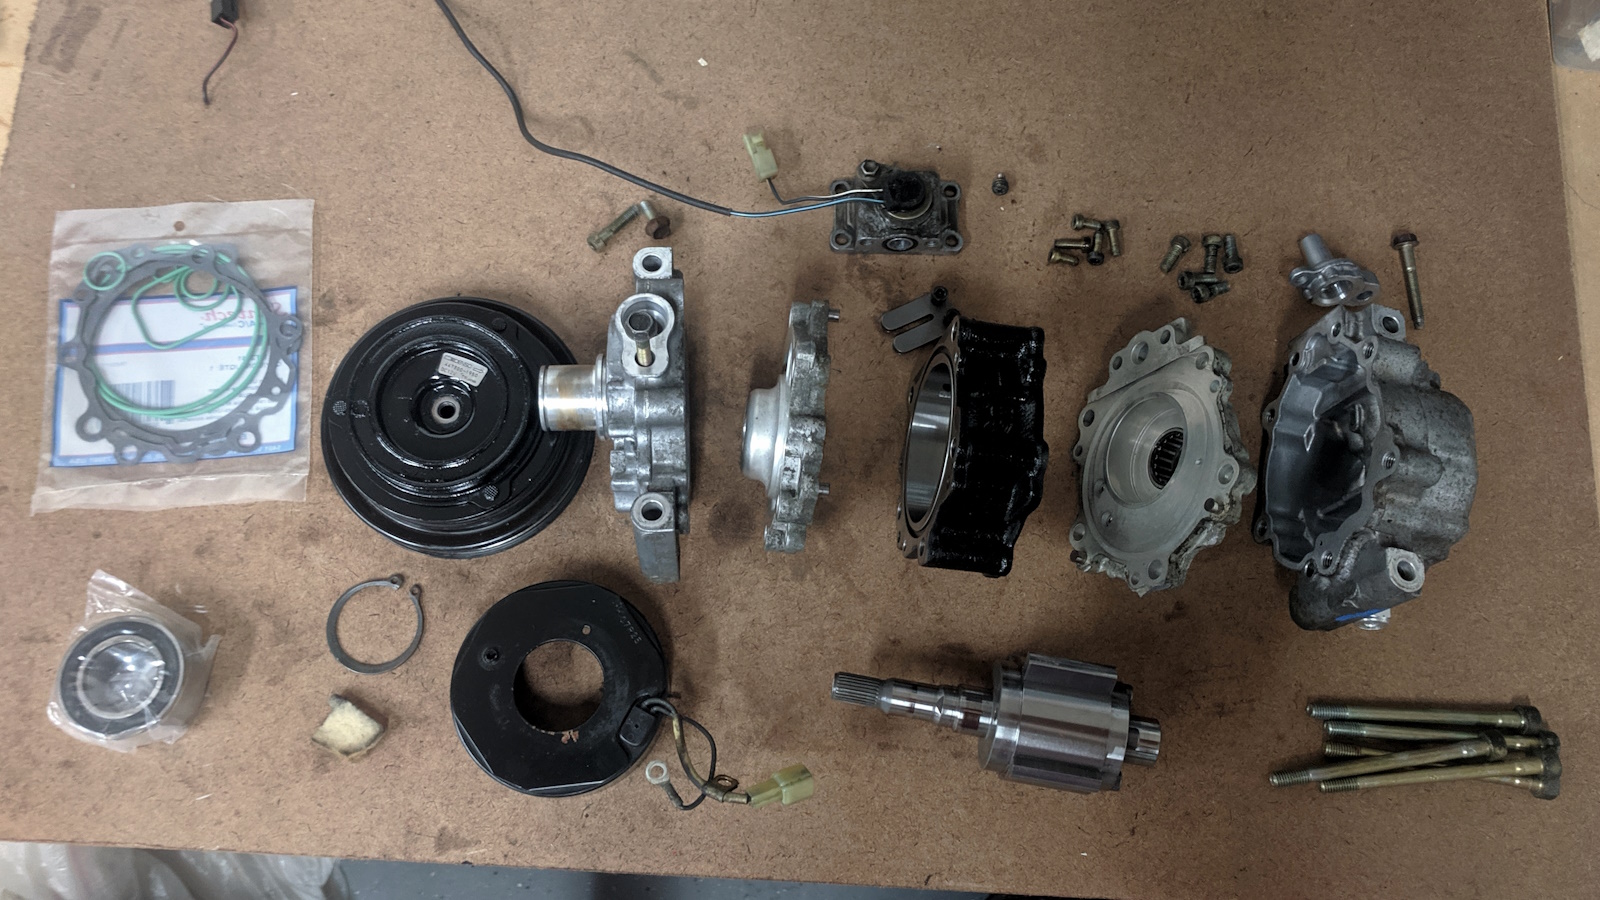
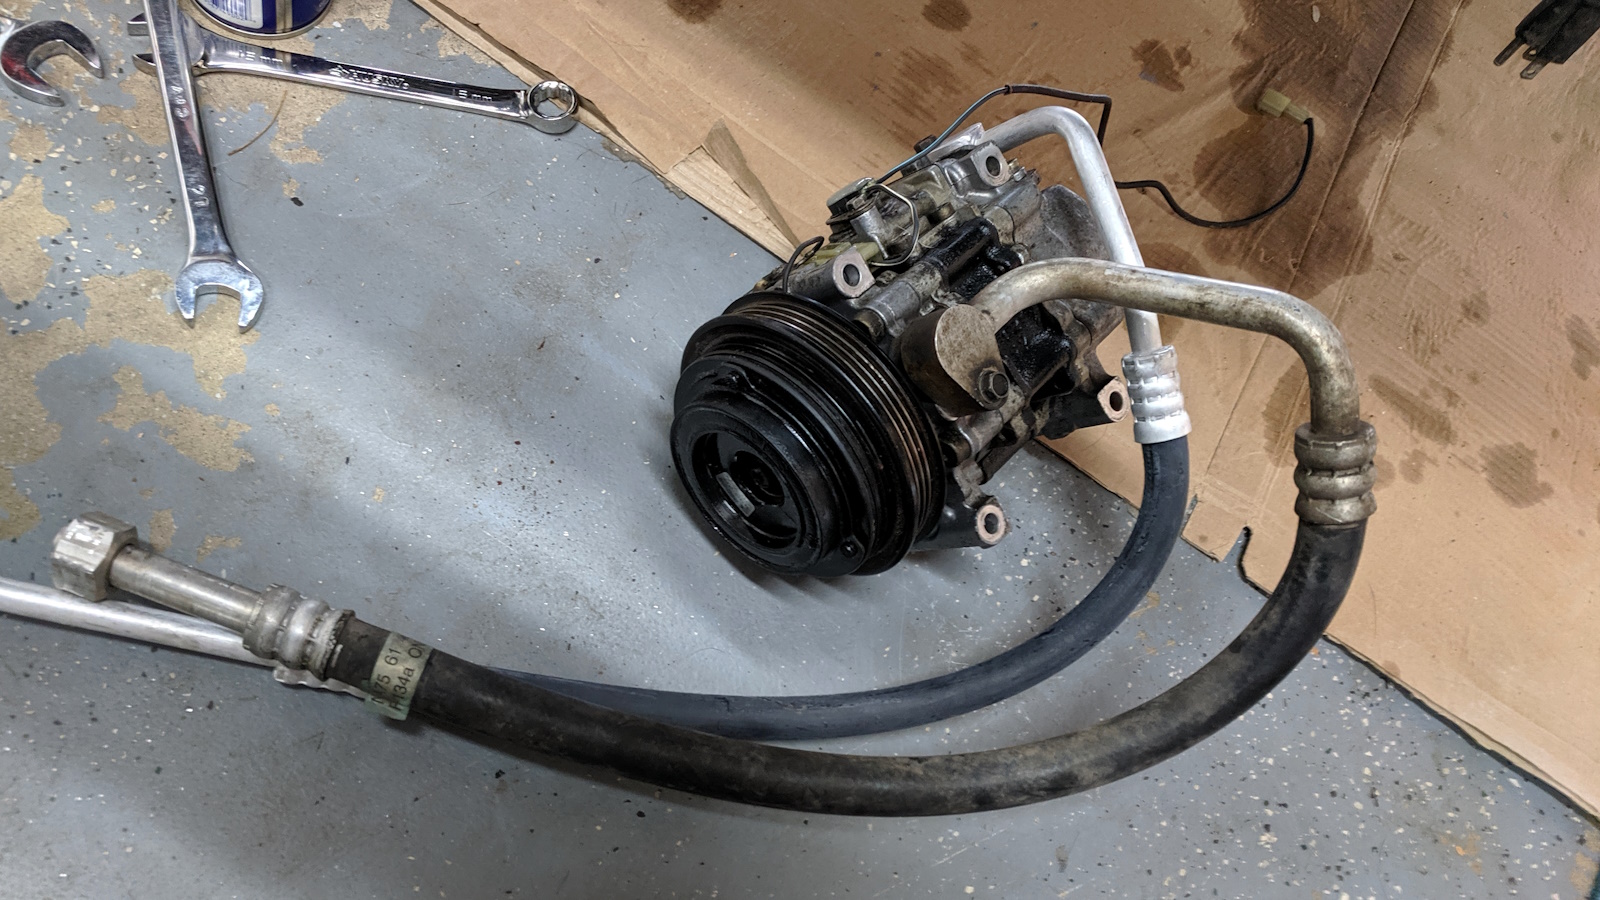
When I installed air conditioning in the Miata I started by rebuilding a used compressor with a gasket kit and new front pulley bearing. There were not many references, hopefully these photos are helpful for anyone else rebuilding their AC compressor.
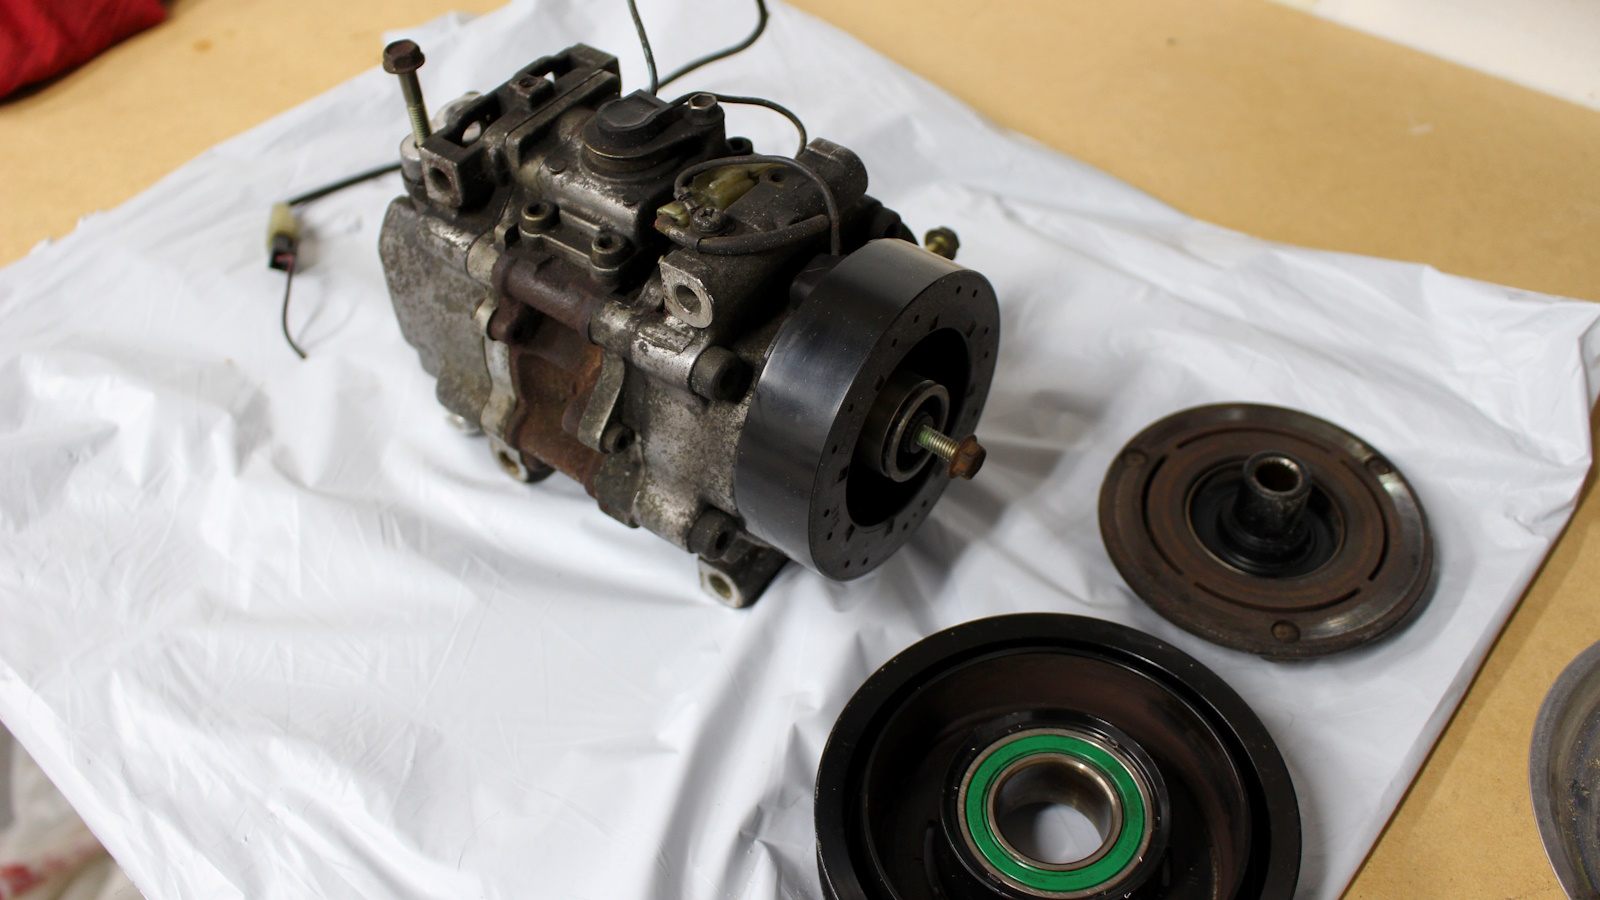
The first replacement pulley bearing I ordered was the wrong size, I recommend measuring the ID and OD of the bearing and finding an exact replacement. I’m not sure how many variations there were across different years of Miata air conditioning compressors.


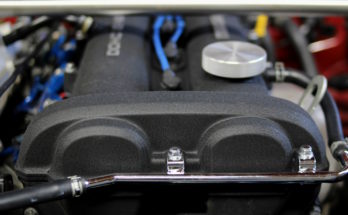
Not sure what the purpose of that felt pad is, but I kept it installed on my compressor.
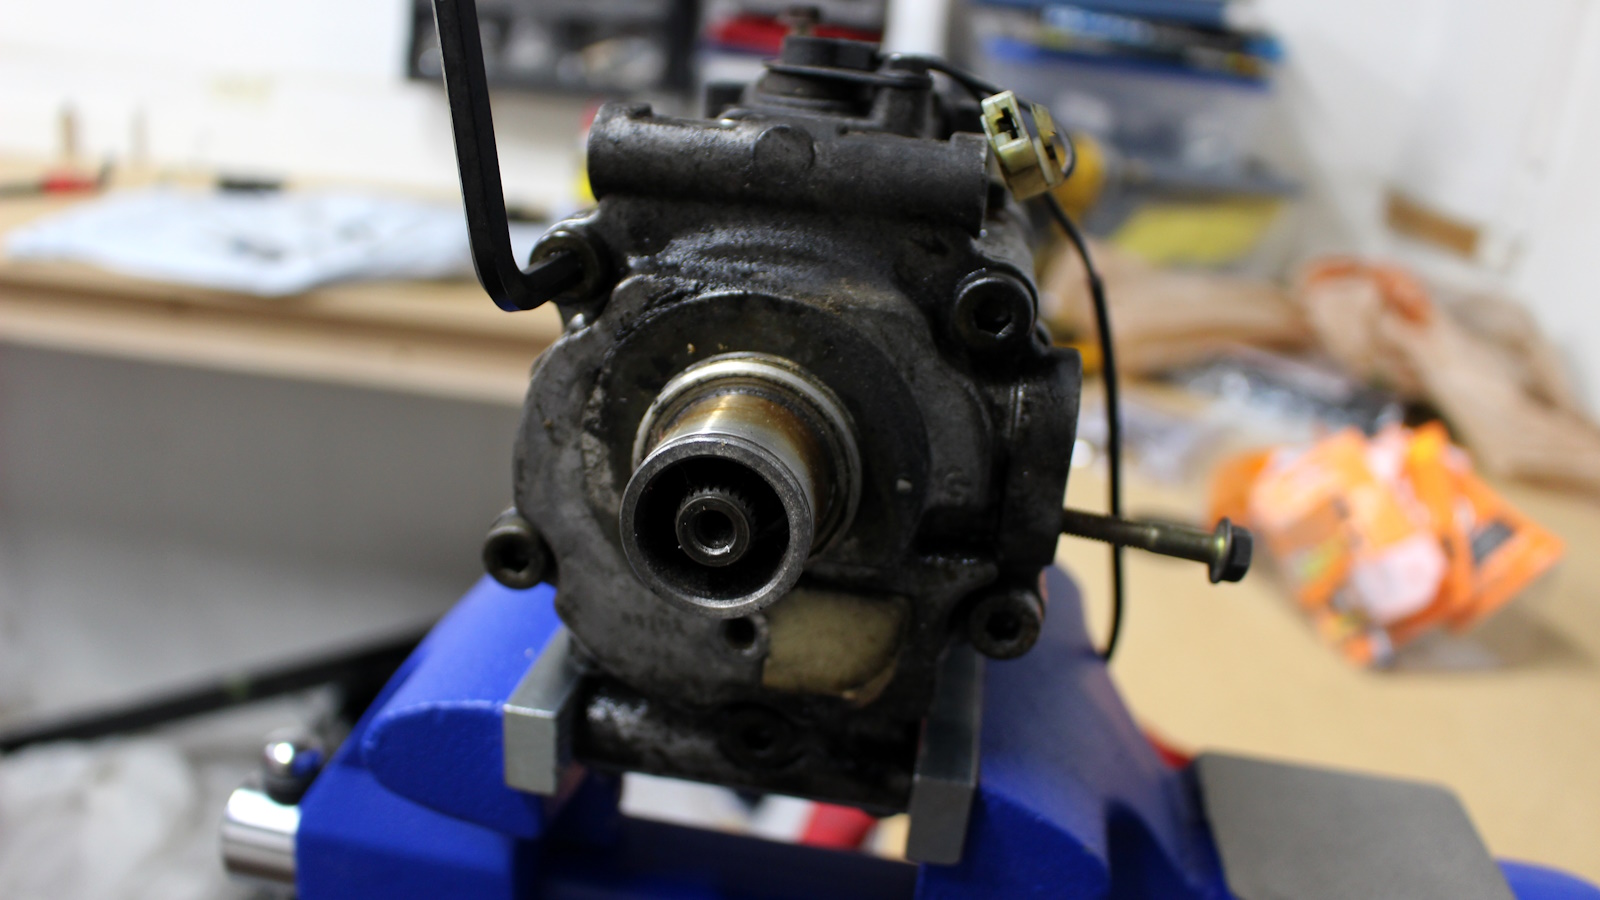
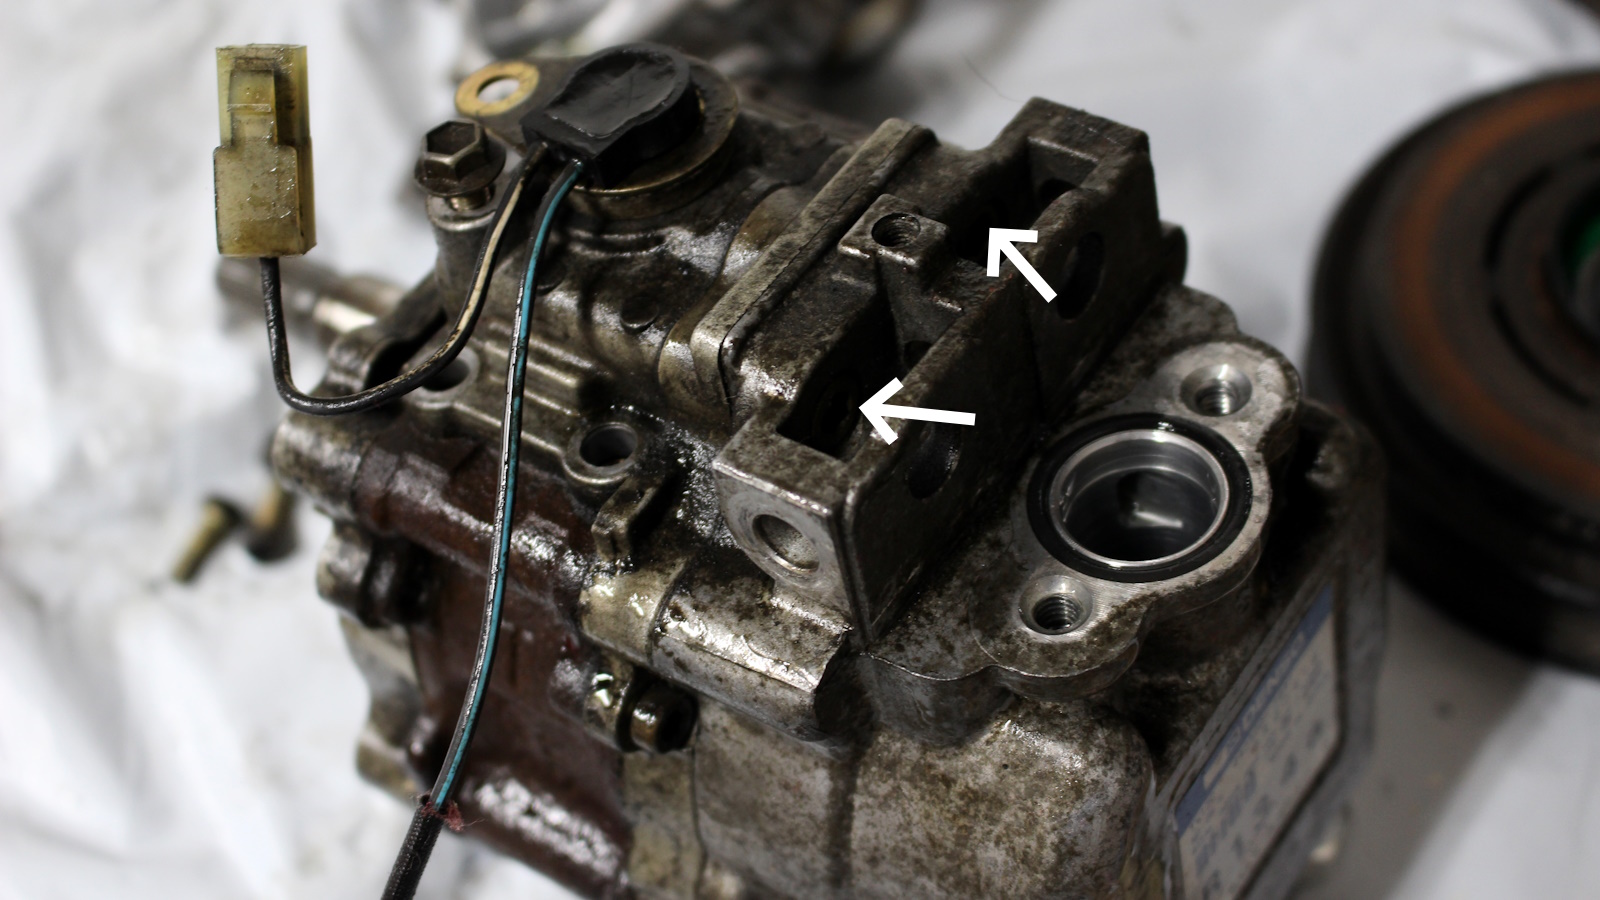
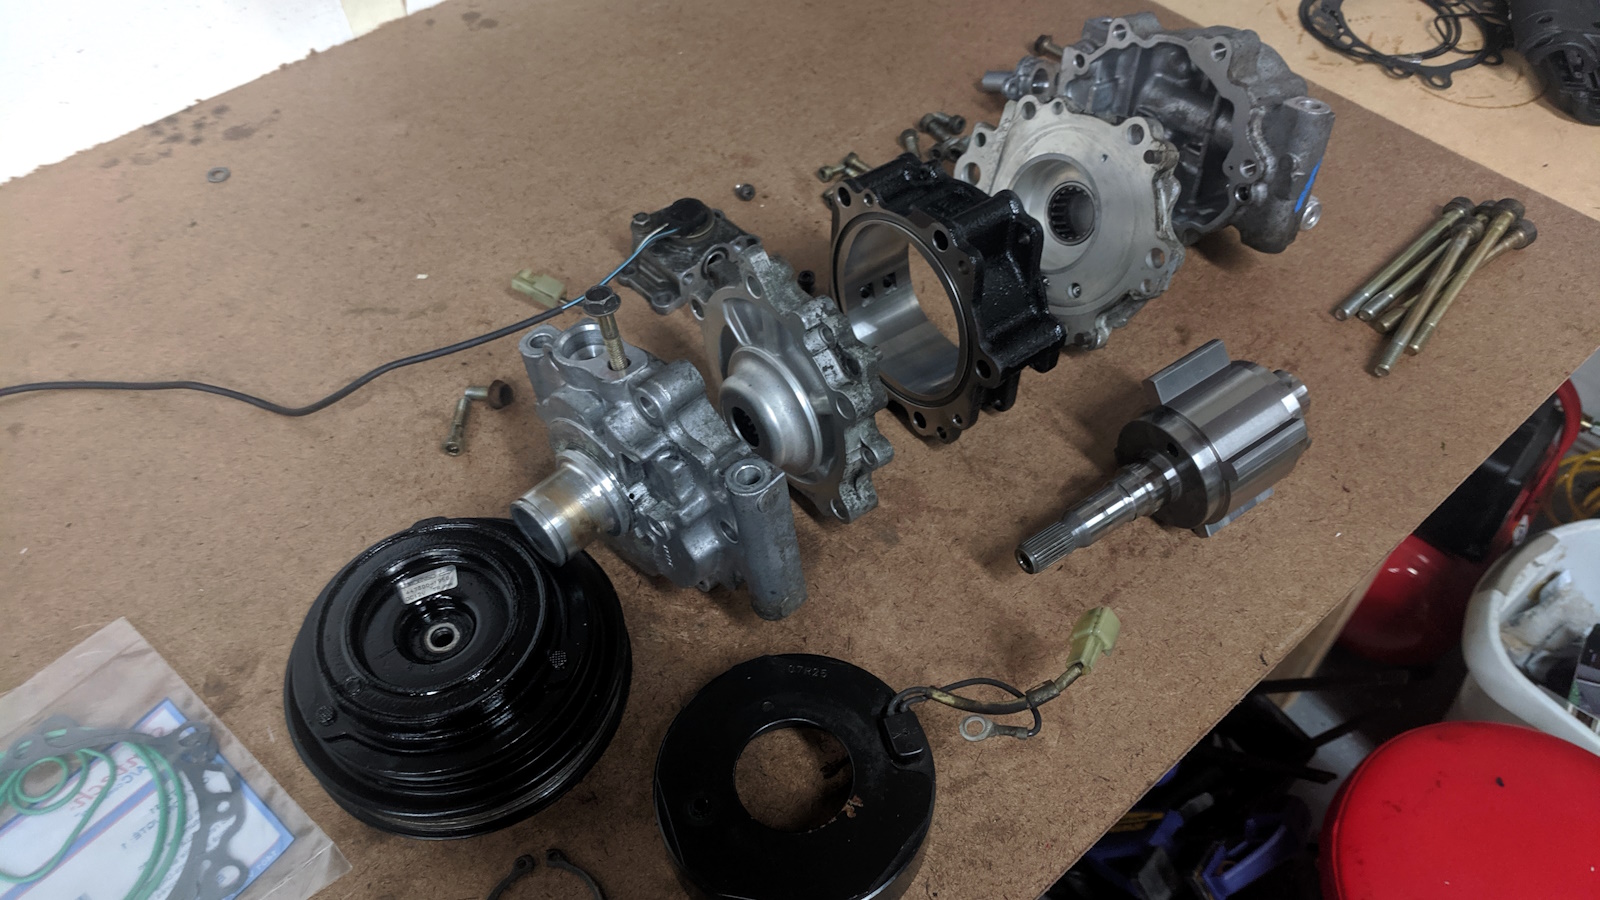
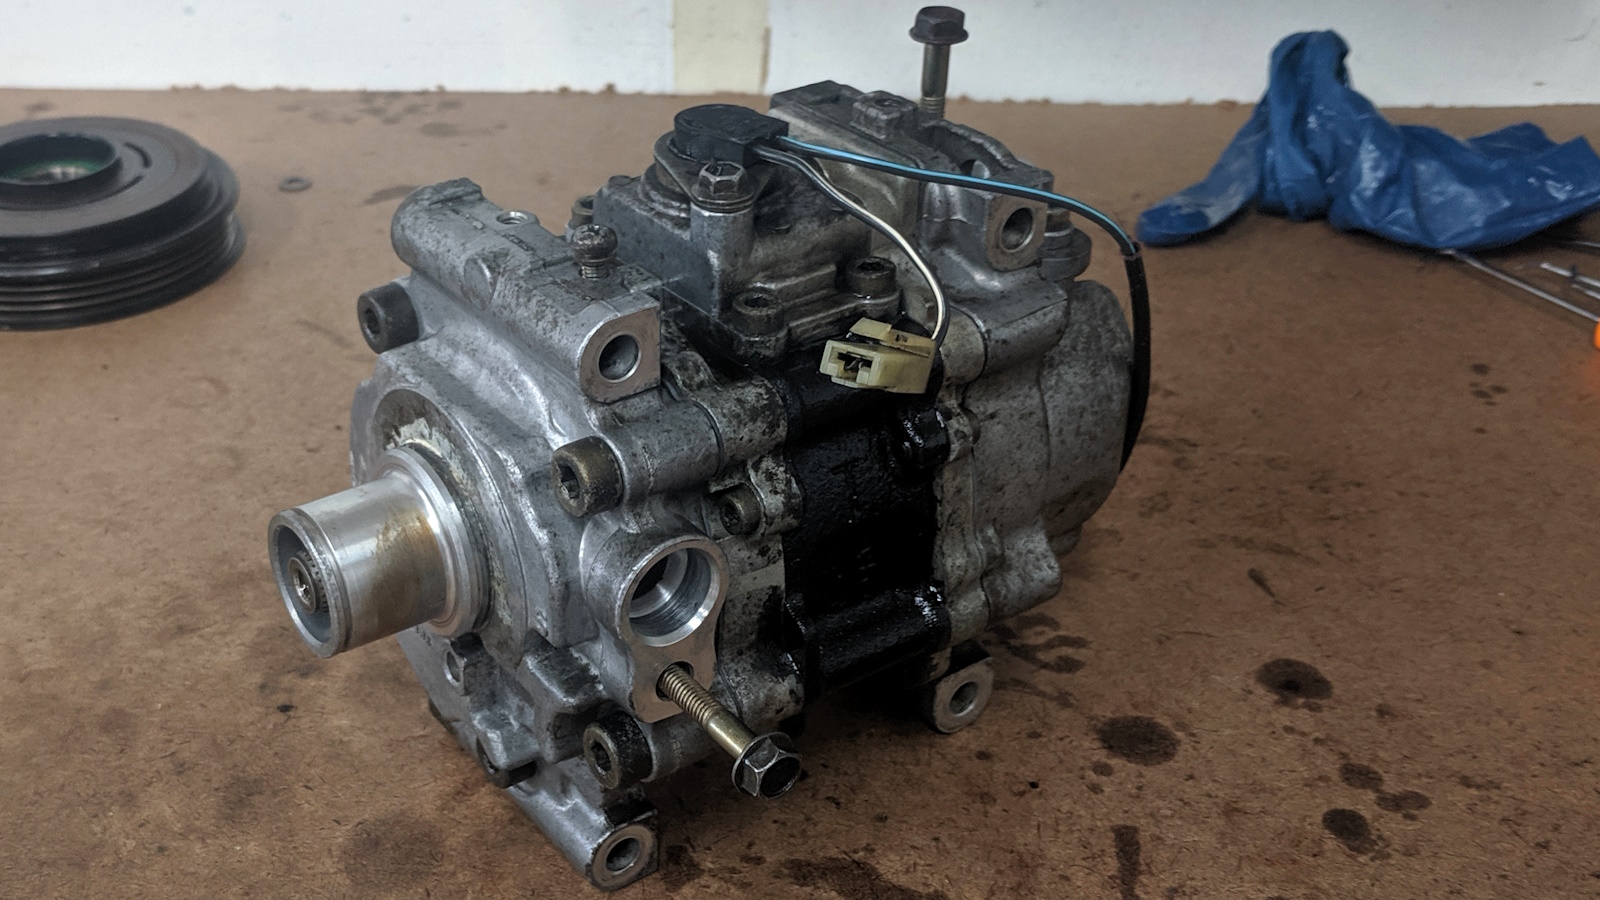
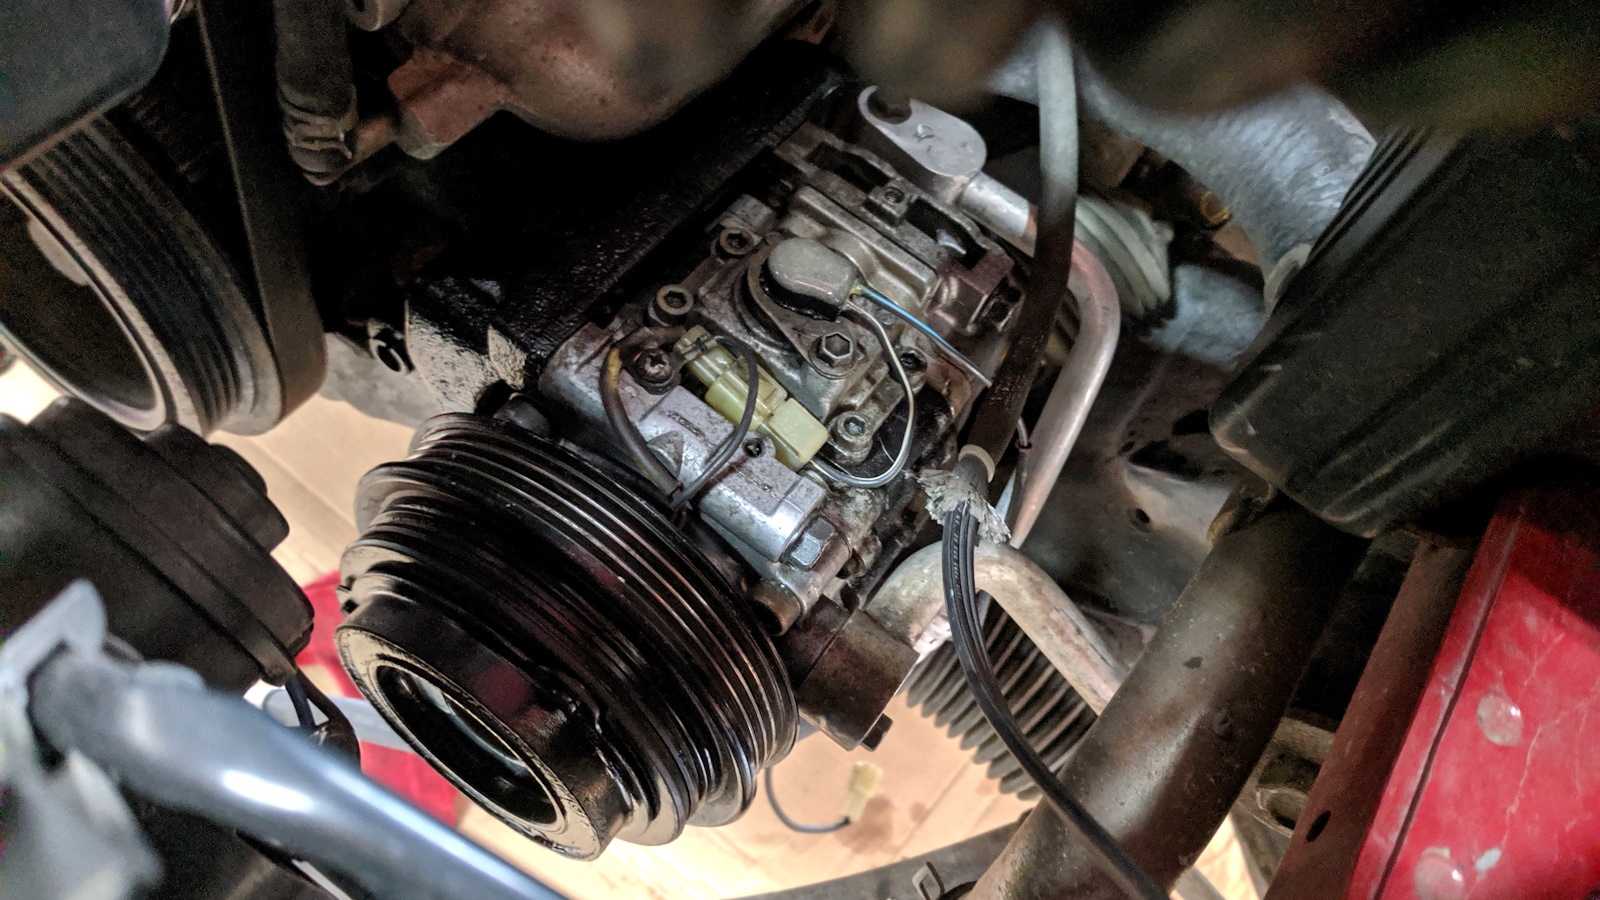
The sections of the compressor were hard to separate after years sealed, but also because some of the bolts holding it together were not obvious. Two sneaky bolts are labeled in the image above.
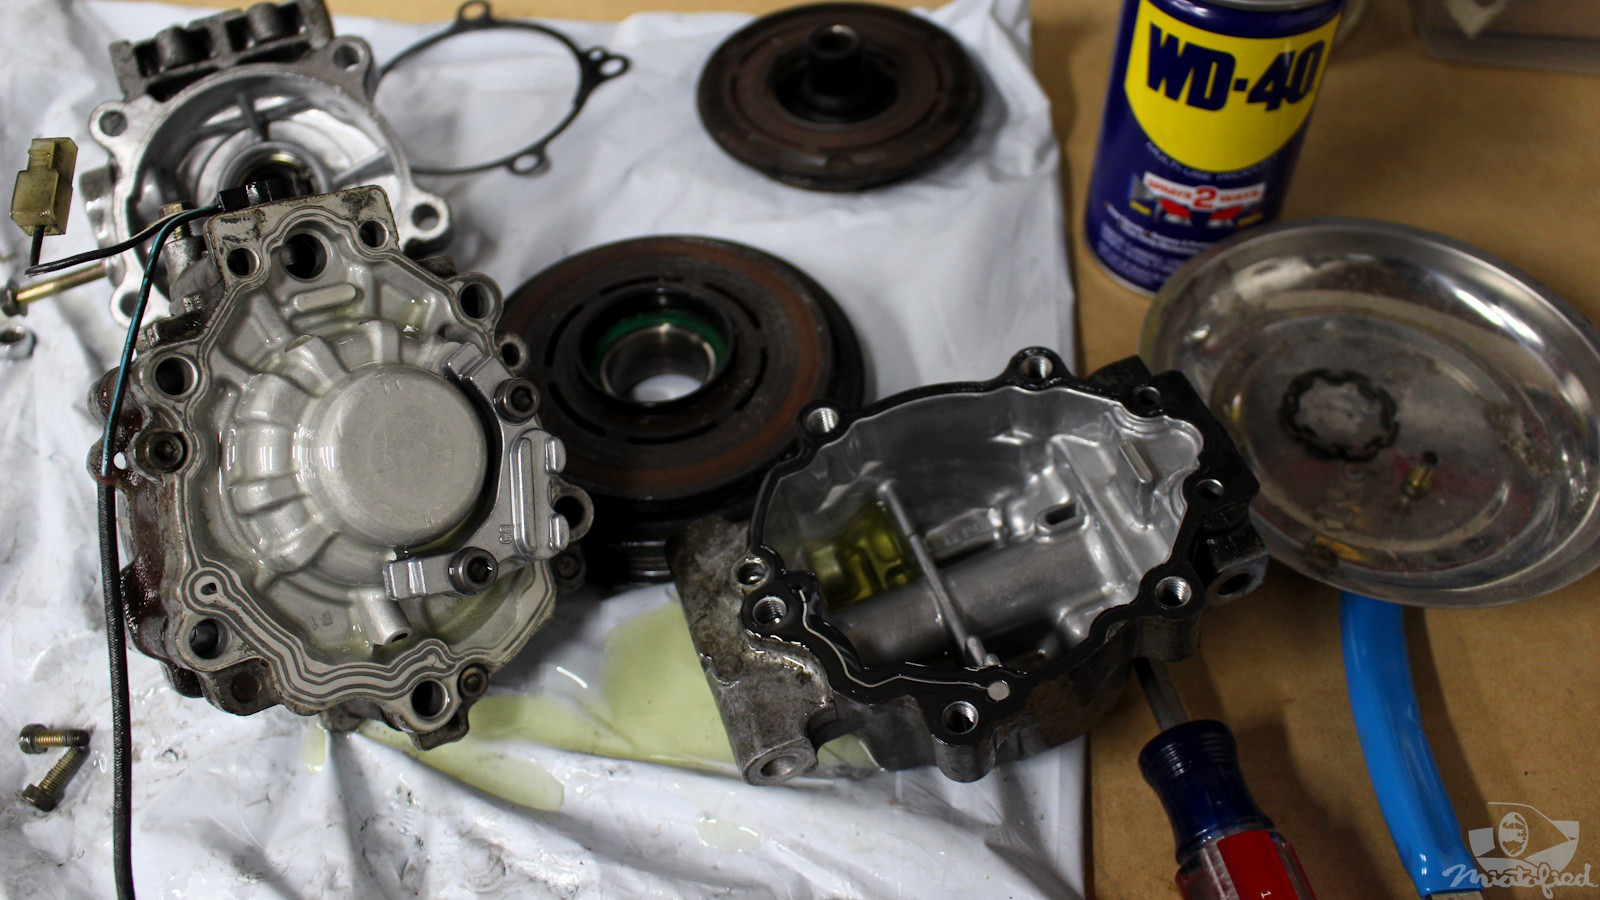
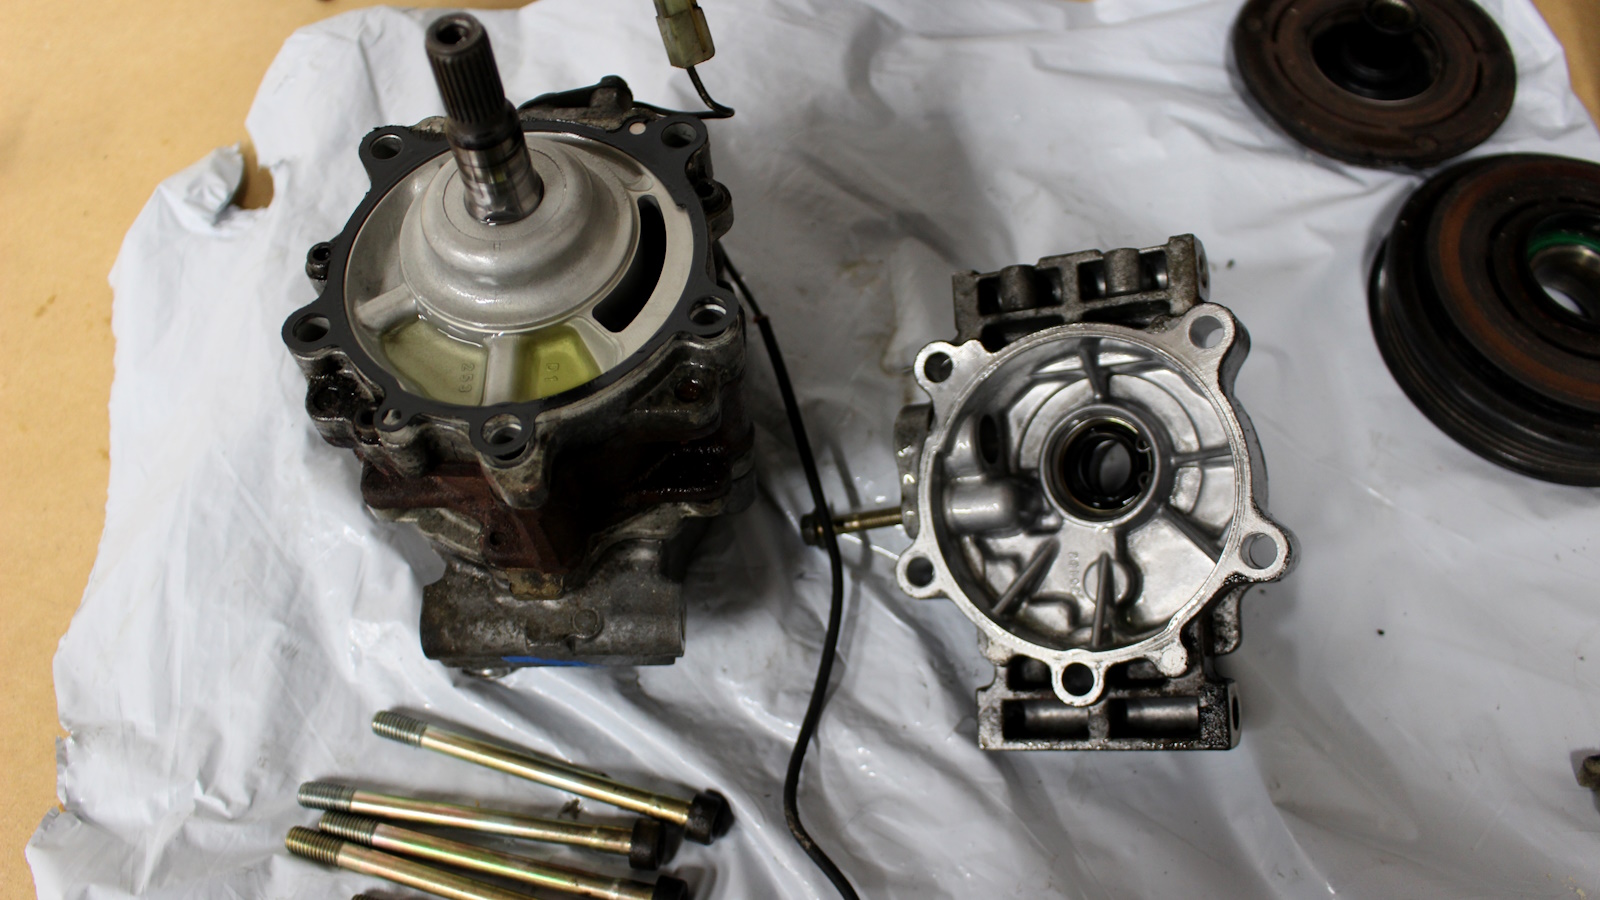
This projects was very messy, compressor oil everywhere by the end, even with the plastic sheet.
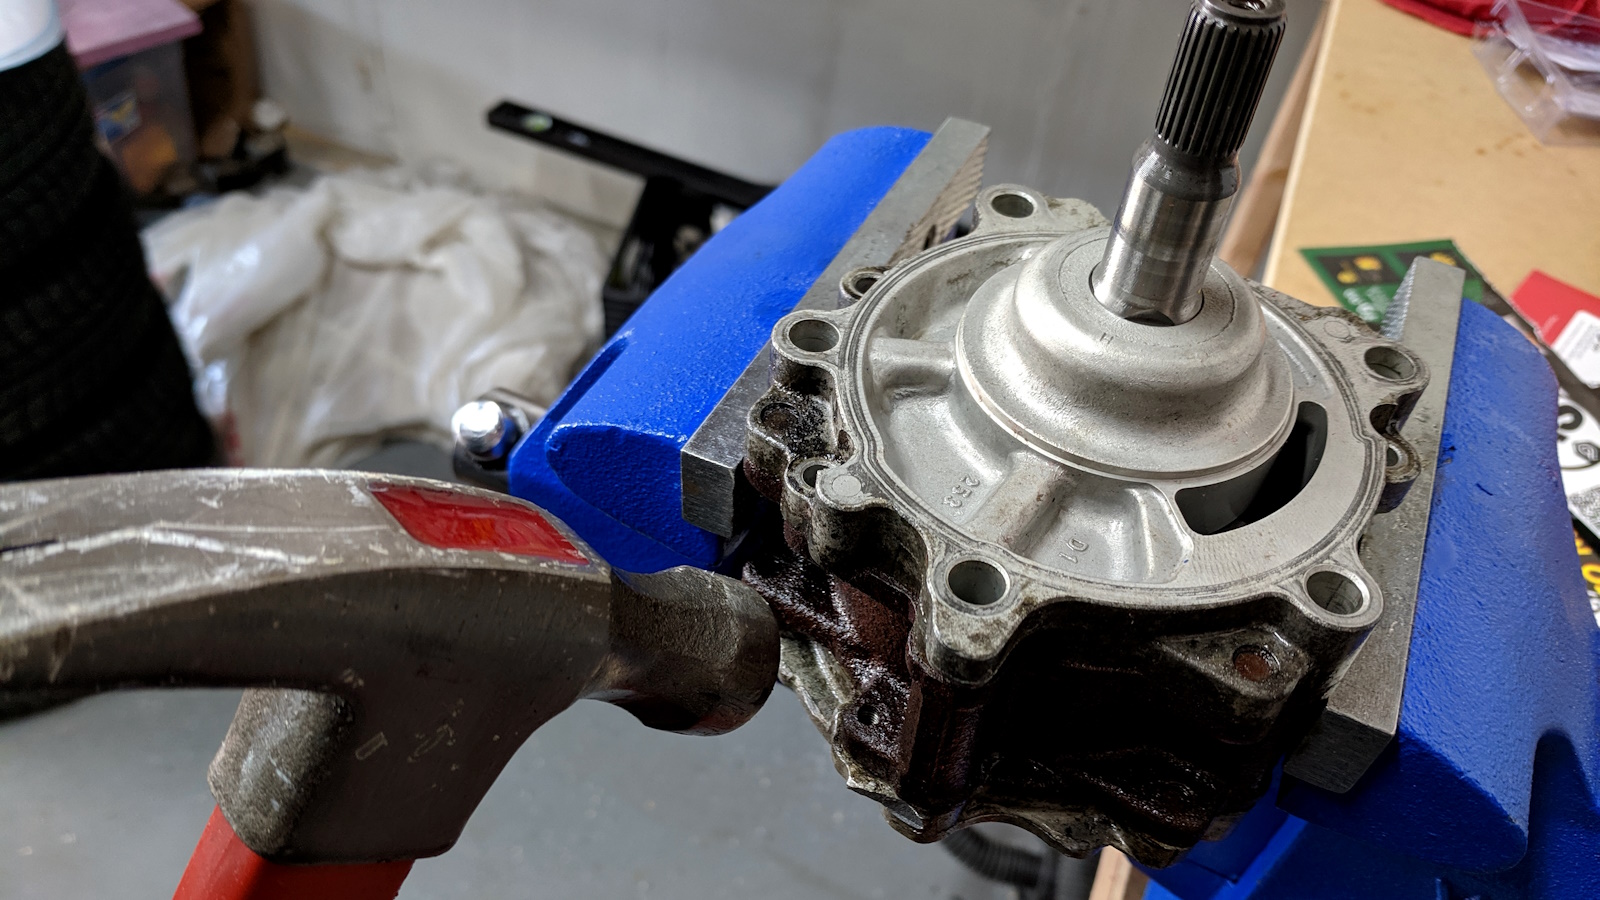
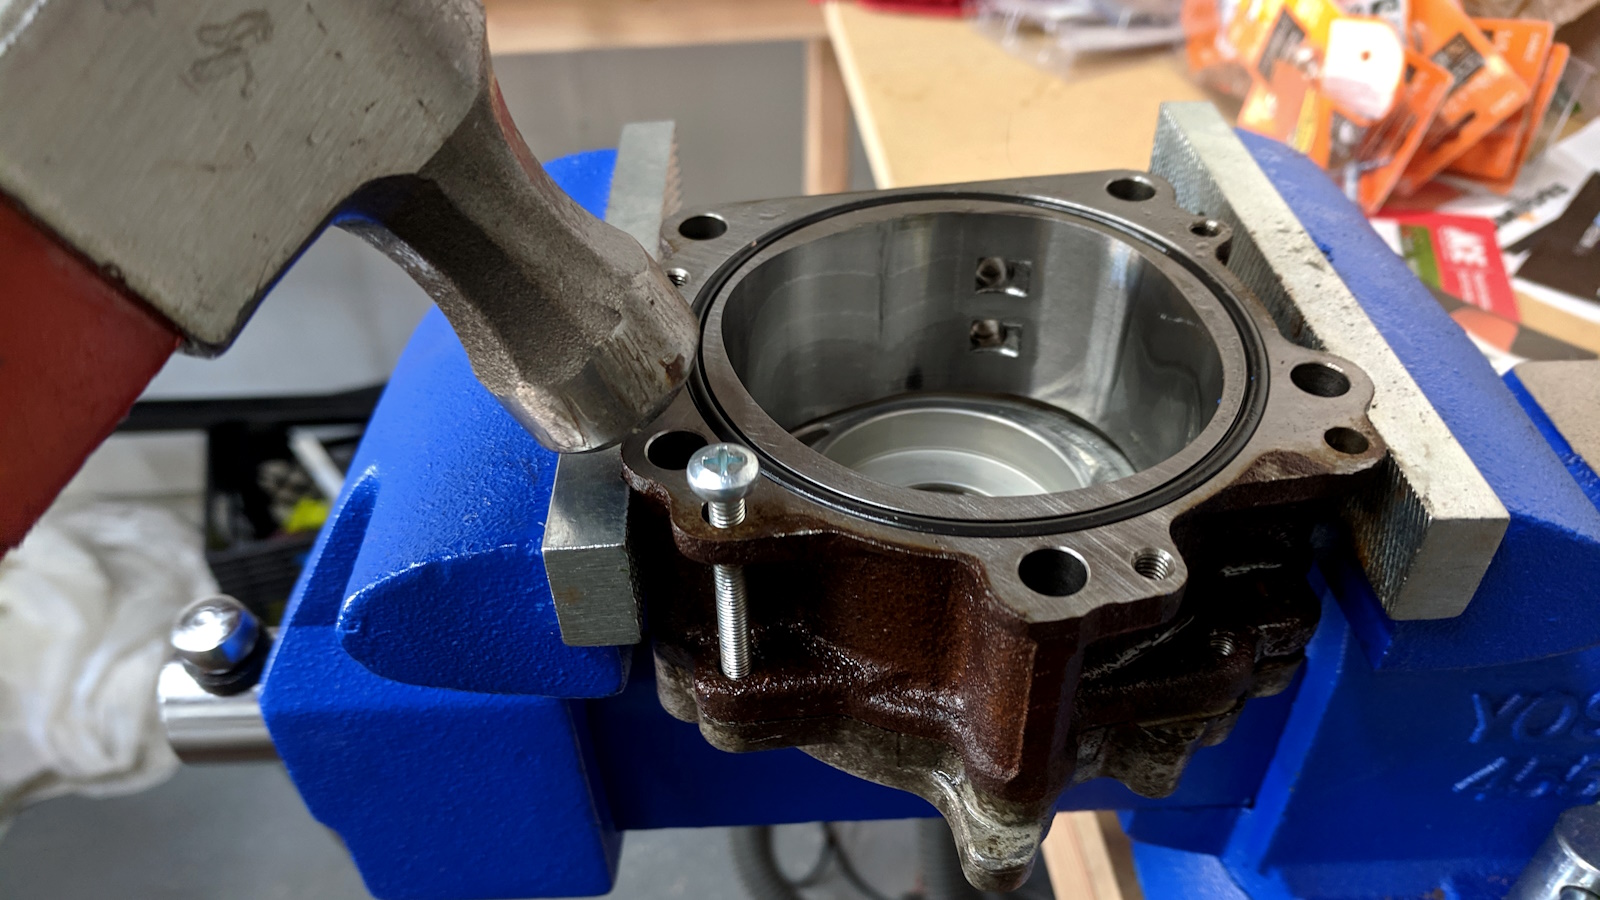
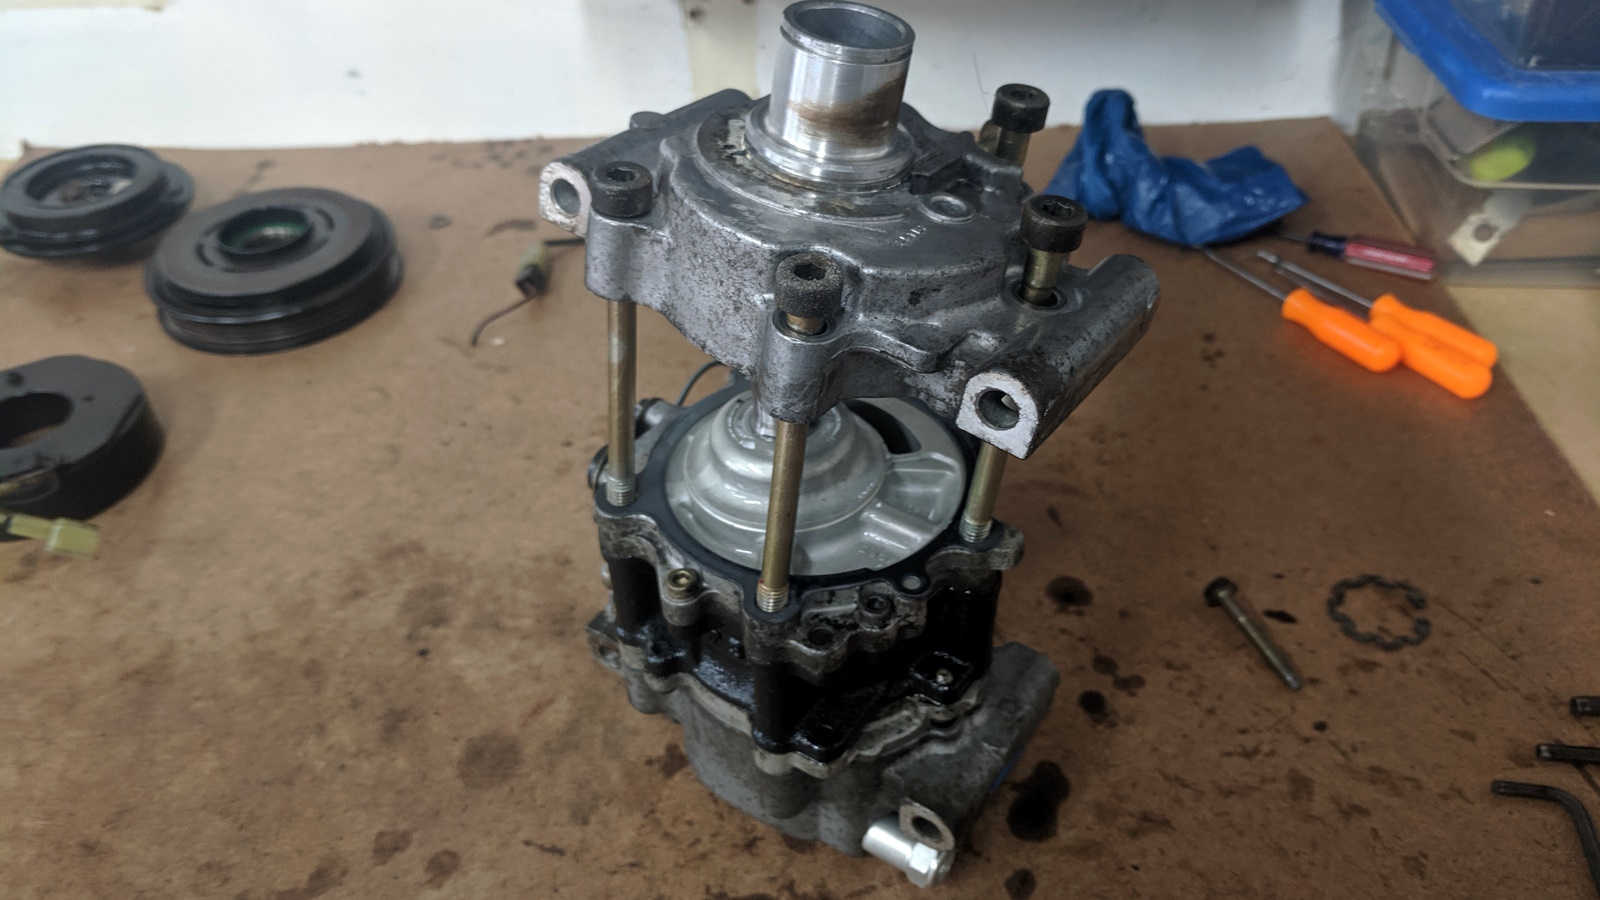
Some percussive force was required to separate the compressor sections.
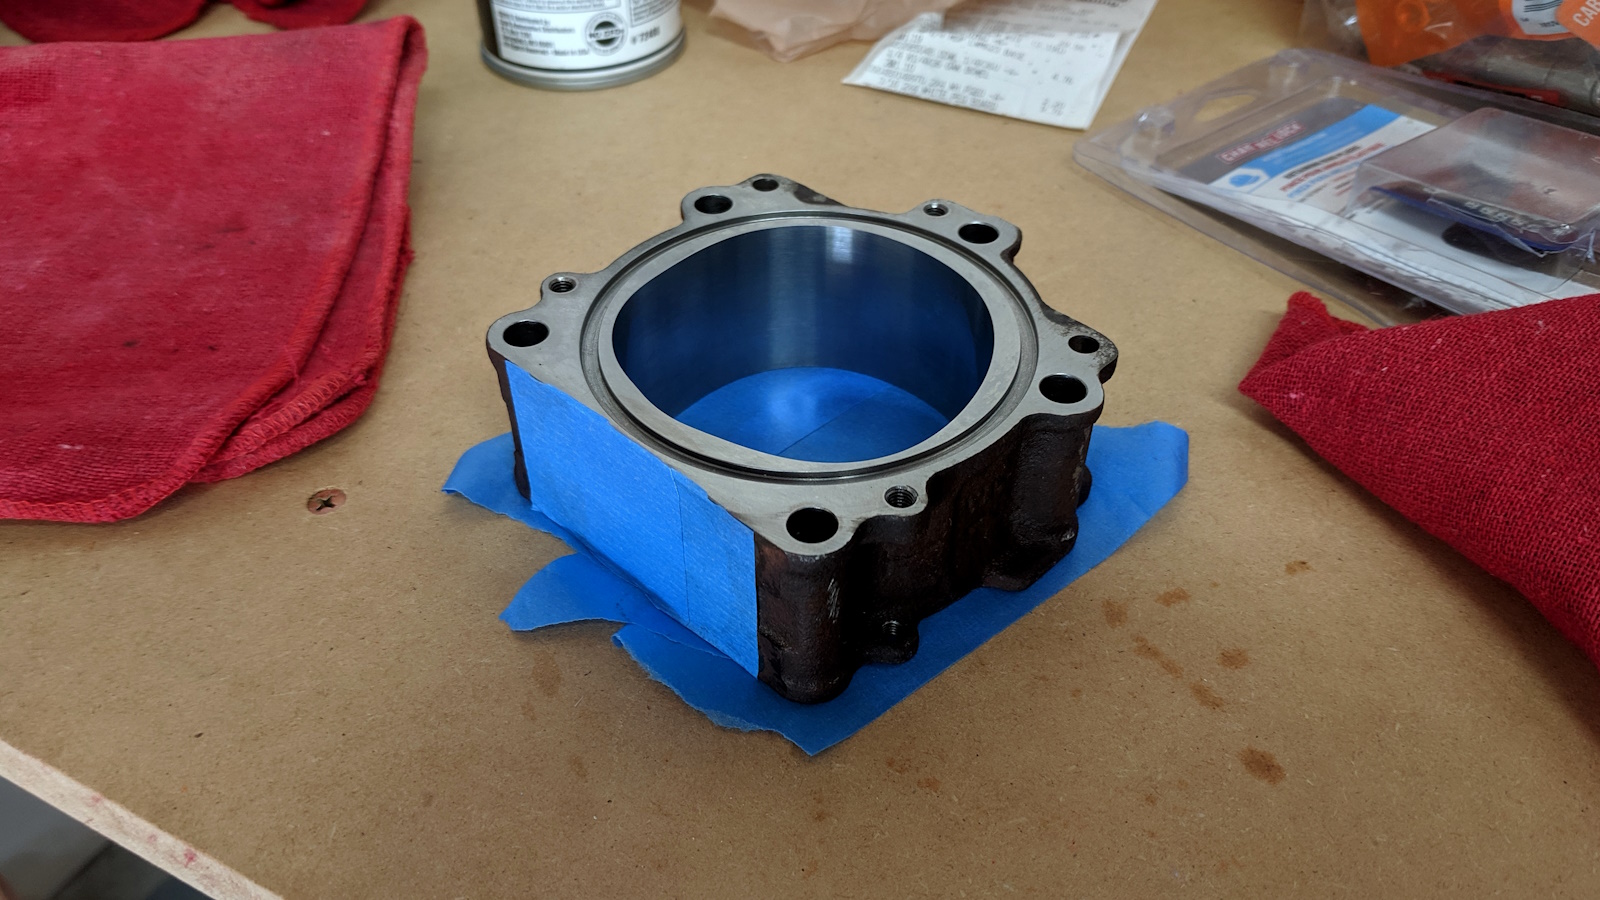
Some black engine enamel was sprayed over the surface rust on the main compressor housing.
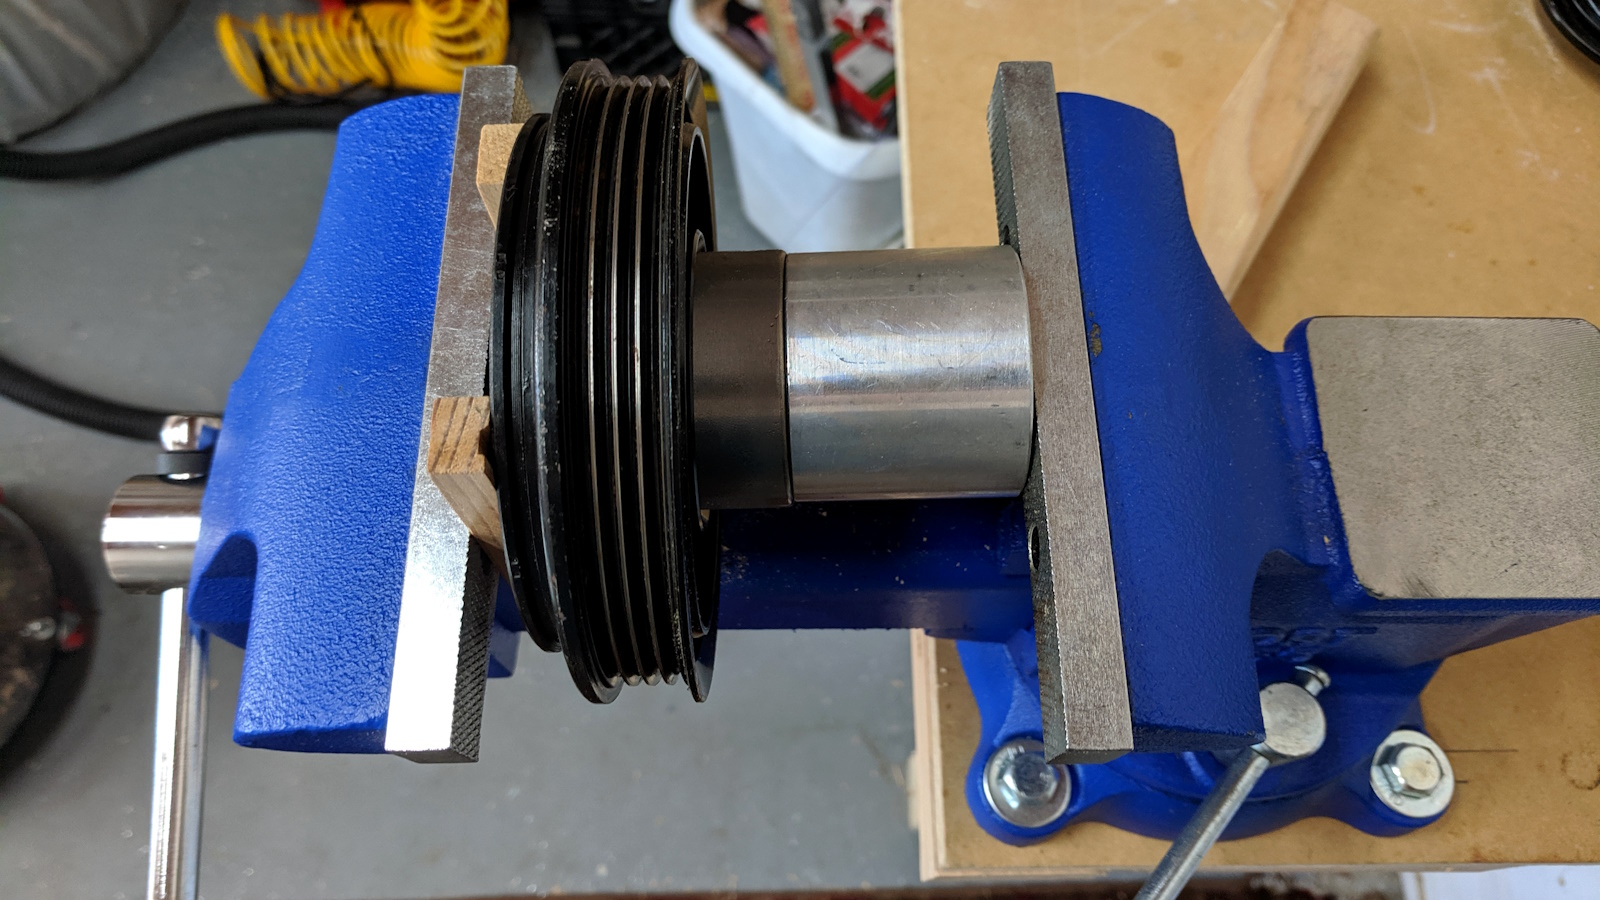
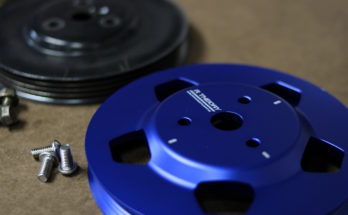
The bearing went in the freezer overnight to shrink its diameter a bit before pressing it into the pulley.
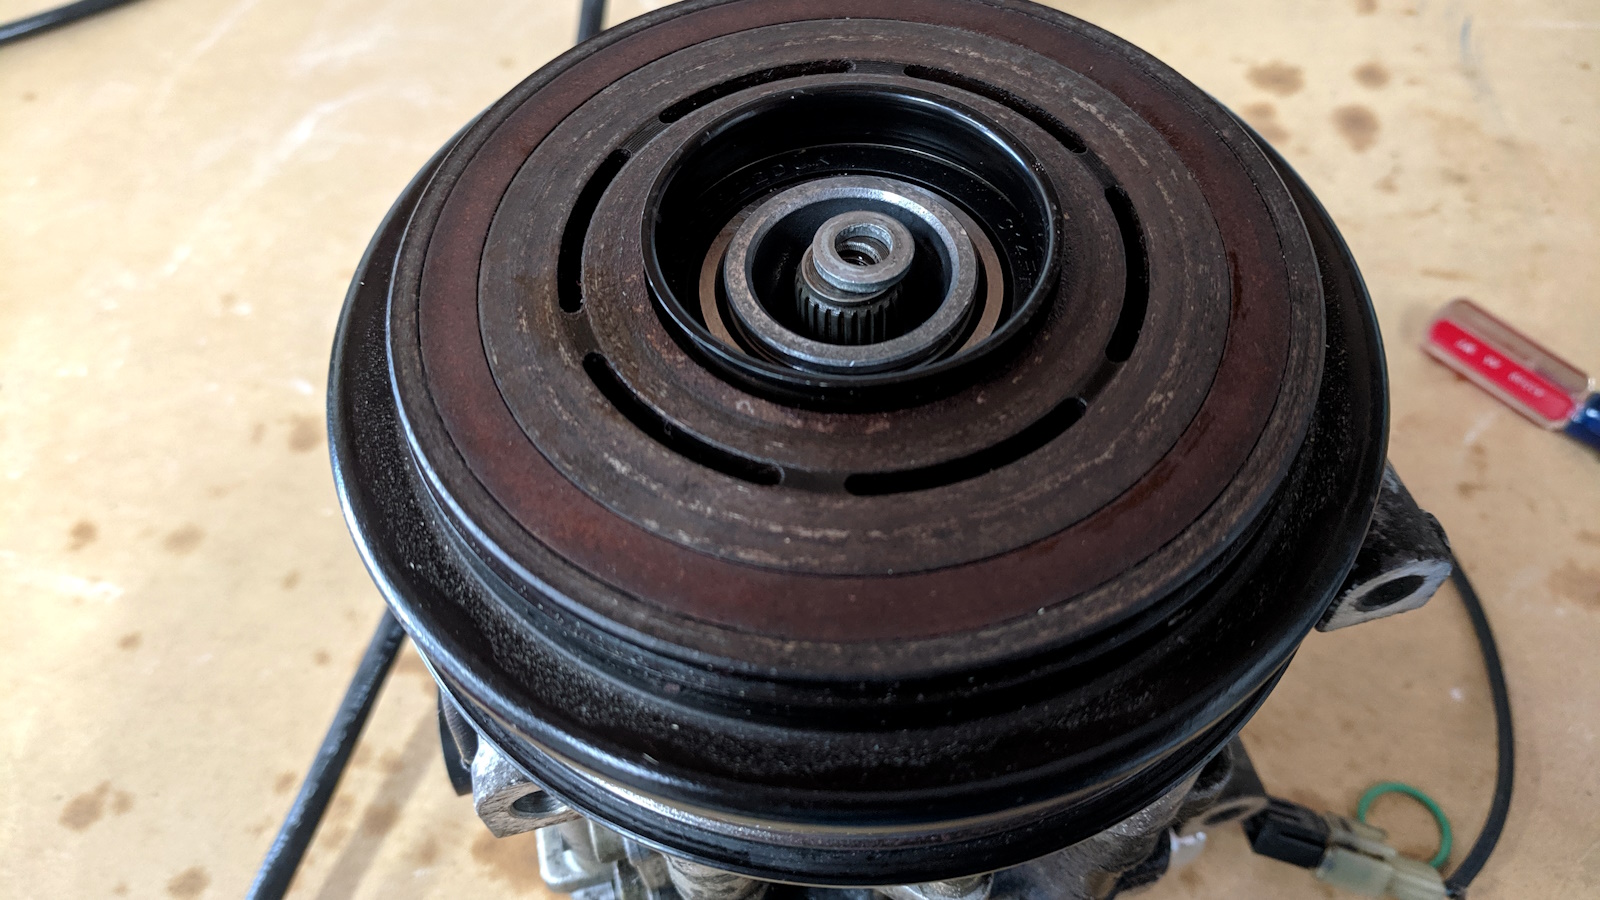
The small washer keeps the spacing of the compressor clutch in spec for the electromagnetic to engage the clutch.
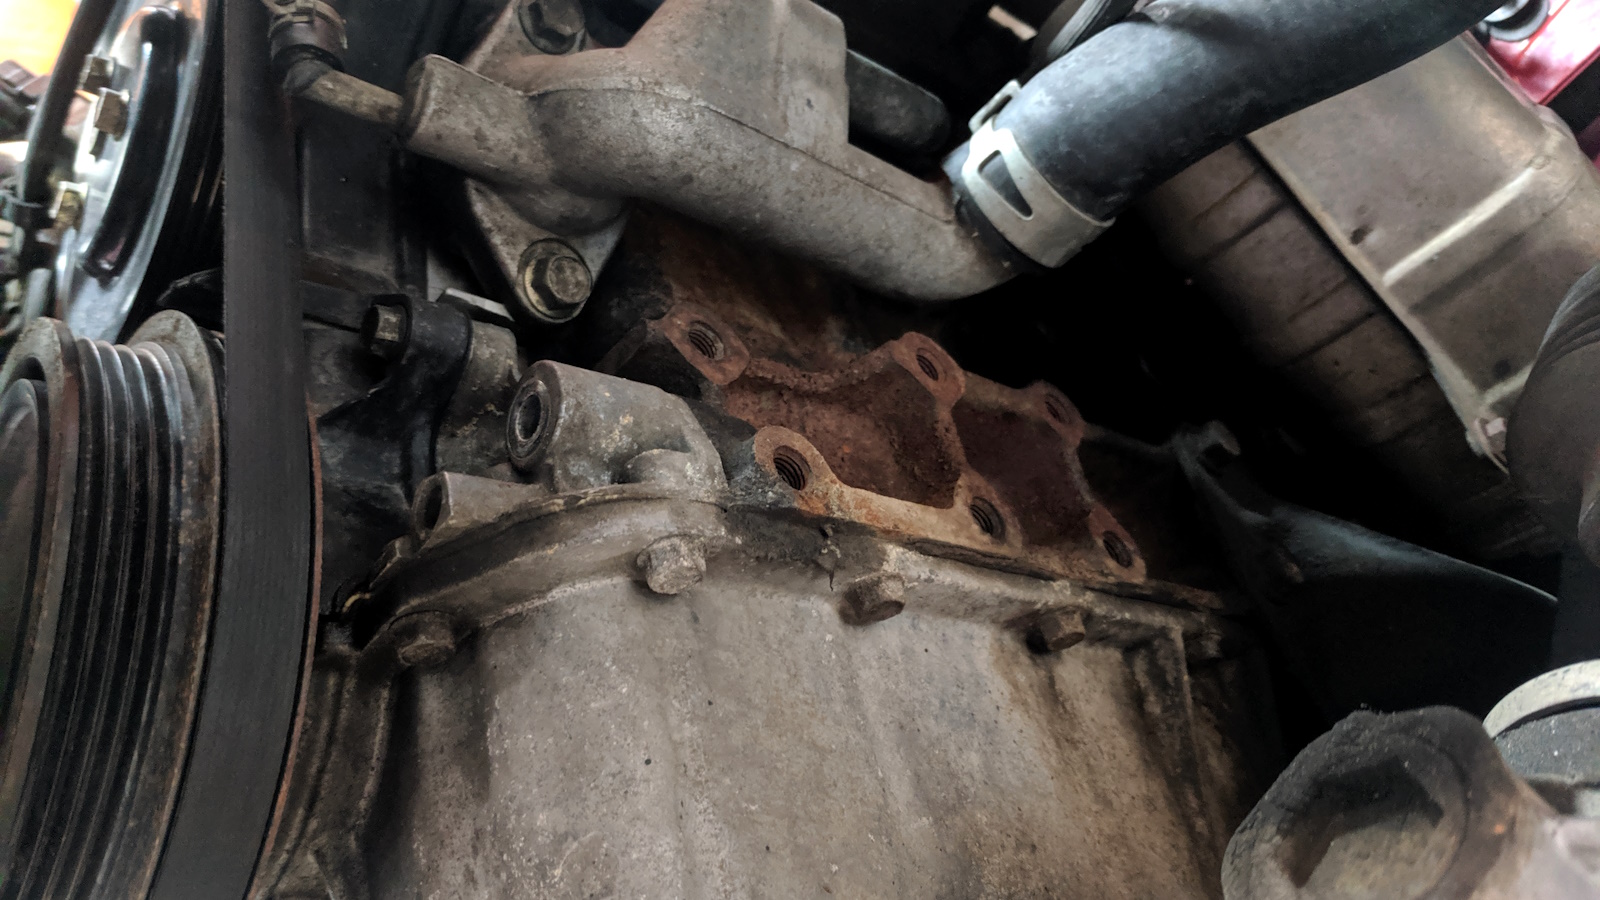
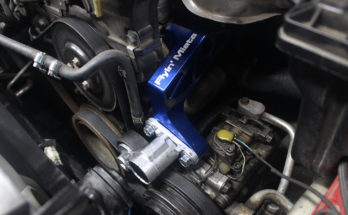
Later when replacing the power steering pump belt tensioner a 10mm x 1.25 tap was used to clear out these thread. They were crusty after 25 years of exposure on the side of the motor.
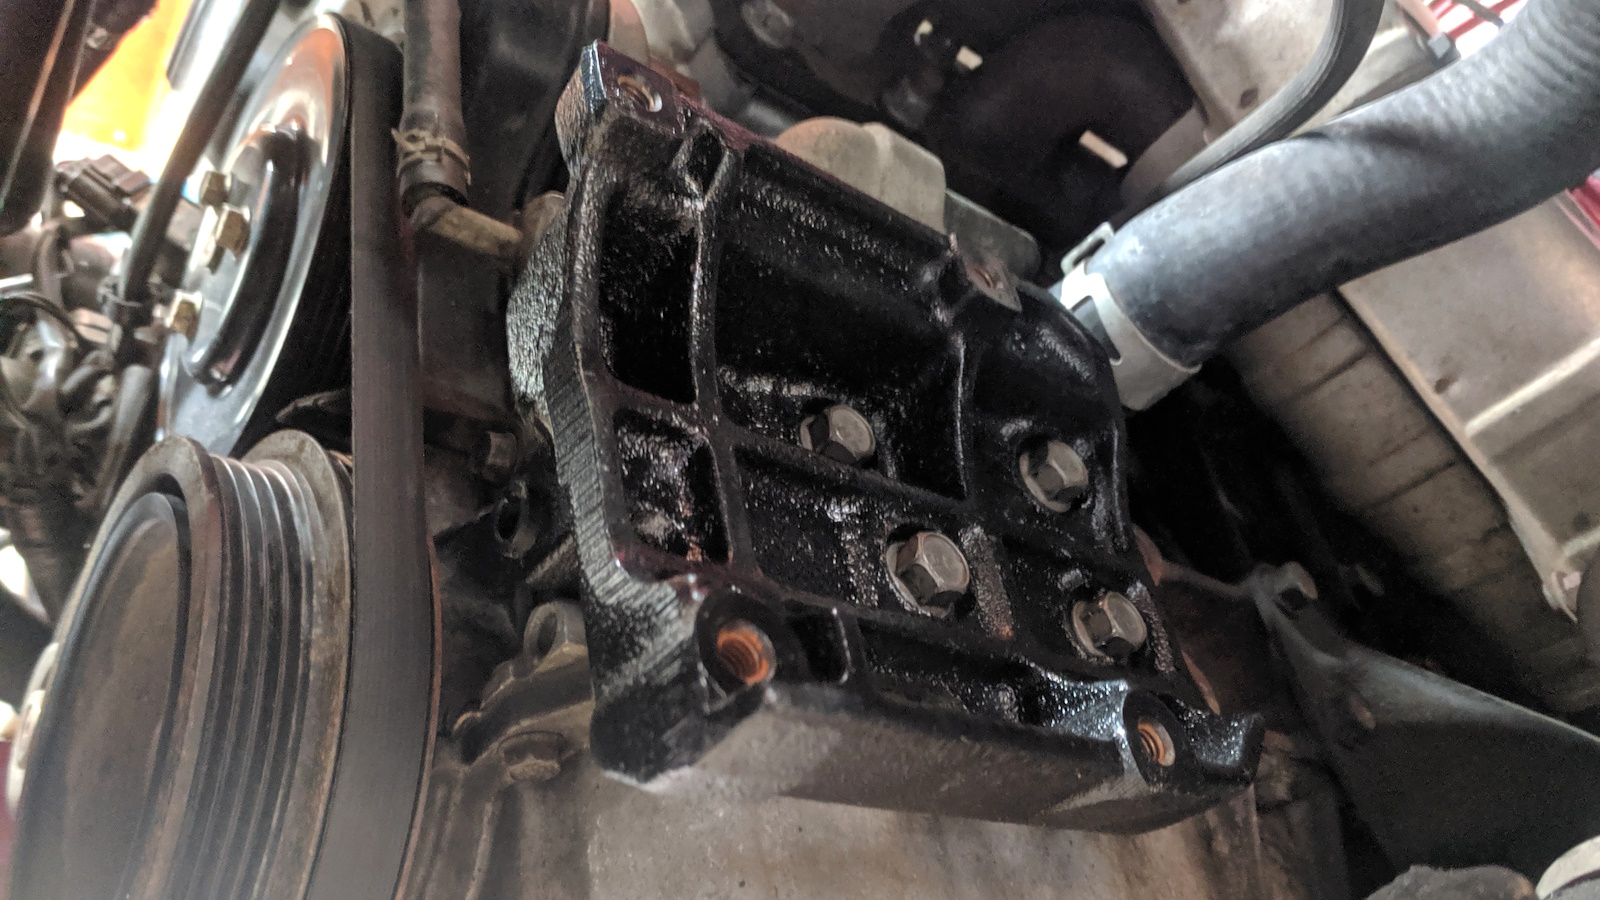
The compressor bracket also got a fresh coat of black engine enamel. The top-front corner needed to be shaved off later to clearance the new Flyin’ Miata belt tensioner.
This compressor rebuild job was successful and has been working perfectly without leaks since 🤞 (as of June 2025). The clutch was pretty worn on this old compressor, so it does have some occasional slipping and squealing. I bought a replacement clutch to be installed in a future post.
The 1994 factory service manual calls for 3.9-5.1 ozs of compressor oil. I used 4 oz of PAG 100 with a fluorescent UV dye to help find any leaks. Miata factory service manuals.

hi, this Compressor looks the same as a 1991 daihatsu feroza here in Australia. but no parts available here. do you have the part number for the new clutch . also any other info. even a rebuild one for sale. thanks
Here’s the compressor clutch I bought: R&Y A/C Compressor Clutch GH325-CL They have tons of compressors and service kits, maybe for Daihatsu Feroza’s too.
I have a 99 Miata will all of this information and parts apply to me, or do I have a different compressor?
I think it should be the same compressor. Here’s some good info about the difference between years: https://forum.miata.net/vb/showthread.php?t=764733
Hi,
I have a 1993 miata that has a working AC but the bearing is very loud. Is it easy to remove the front pulley and replace the bearing? Do you think it’s possible to do from inside the engine bay or I need to remove the whole ac compressor.
Yes, that should work. The pulley is easy to remove without unbolting the whole compressor. You might need to loosen the front sway bar to make enough room to access it.
I did not see a front seal in the kit or being replaced on the housing which is a known failure point . great write up and pictorial . Tucson, Az.
Glad I found this thread! Awesome info on the site.
My 97 Miata, when turning on the AC there is a squeaking noise. The AC is working great except for the noise from the engine when AC is engaged. With AC off, no noise. Could this be the AC clutch as mentioned above? I’d like to replace the part but rather not discharge the system and remove the compressor to replace this. Any DIY info is greatly appreciated.
Hi John, if the sound is only when the AC is turned on it might be the AC clutch or bearing. Check that the belt is tight and in good condition first since that’s an easier fix. The AC system does not need to be discharged to replace the compressor clutch, it’s just a little more difficult working on it while its attached to the car. The steps in this video look very similar to a Miata compressor.
Thank you for the reply Miatafied. The belt is new & tight. The noise sounds like a metallic noise…not a typical belt squeaking noise which lead me to think it’s a bearing. Our AC compressor is way down at the bottom. Is the recommend route is to remove the 4 compressor mounting bolts and have the compressor hanging by AC lines (but support on the weight on a carboard box or something). This way it’s out of the way more accessible to get to that snap ring etc.? Not sure if anyone has done this before and what’s the best approach for a NA miata.
I don’t know if there is a recommended way, but it should be possible to remove the pulley without unbolting the compressor. The front sway bar might need to be loosened to have enough working room.
How about torque specs? I will assume that your normal Haynes manual isn’t going to have them, and I’d rather be sure that I tighten the bolts appropriately. Thanks
I wasn’t able to find torque specs, just made them snug. There are o-rings and gaskets between each section of the compressor, it hasn’t leaked so far.
The AC is not working on my NB2.. I connected 12V directly to the compressor and its clutch does not engage. It has a thermal switch. Can I remove this (and check) without draining the system or removing the compressor? I thought if I’m lucky, only this switch is bad.