Replacing differential axle seals is not too daunting of a task. You will know if your axle seals need to be replaced if the spinning axles are splatter painting an arc of leaking oil onto the underside of the car.
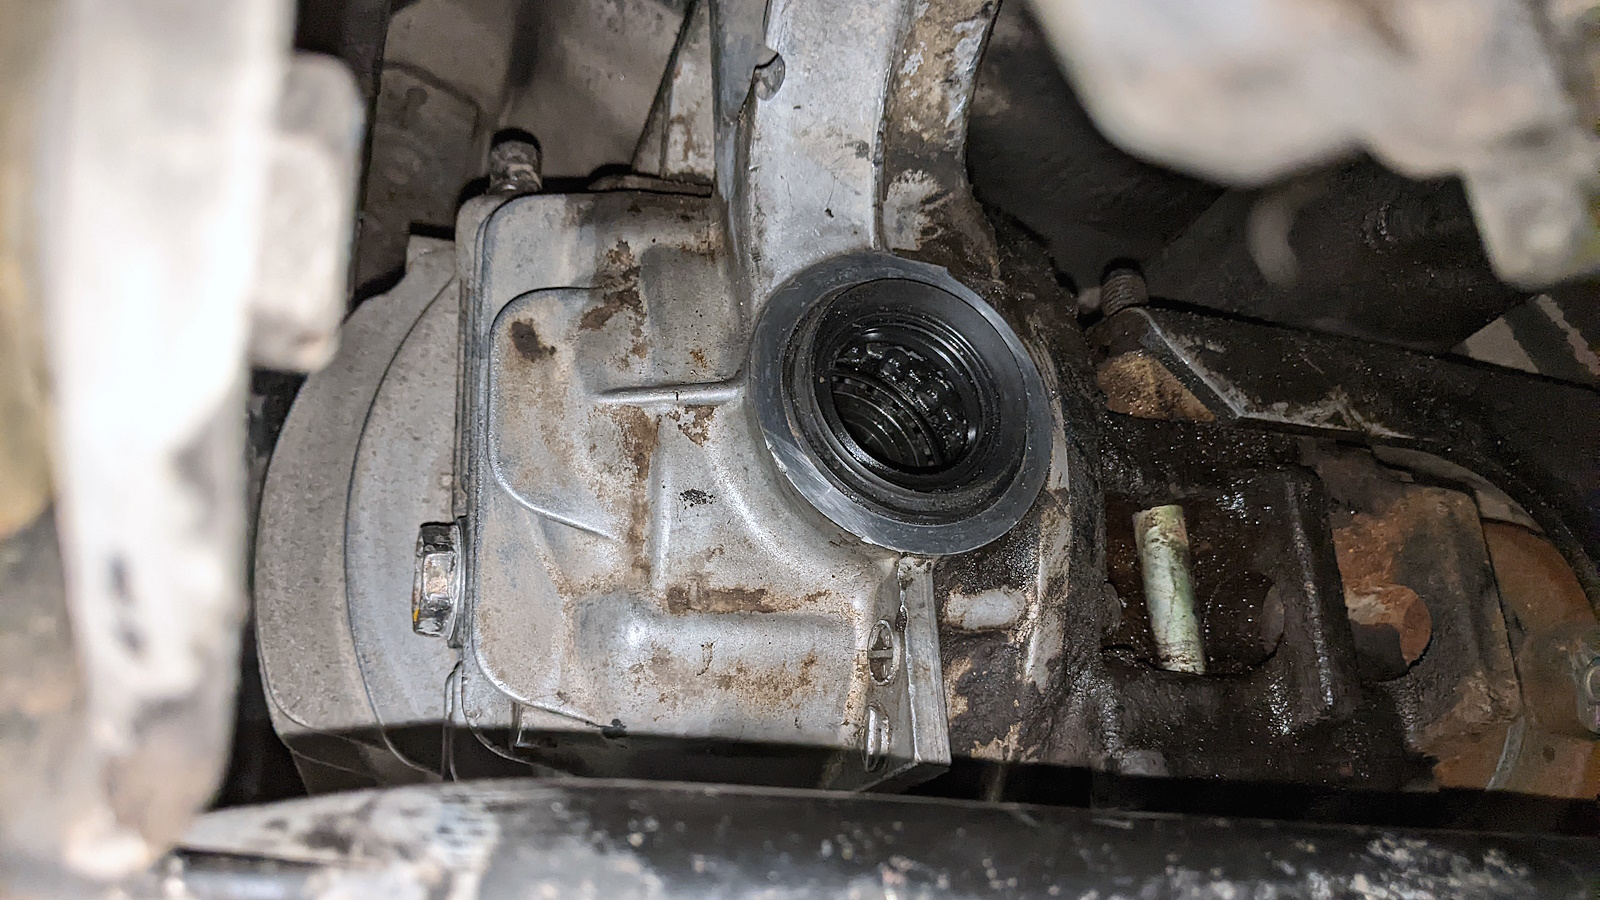
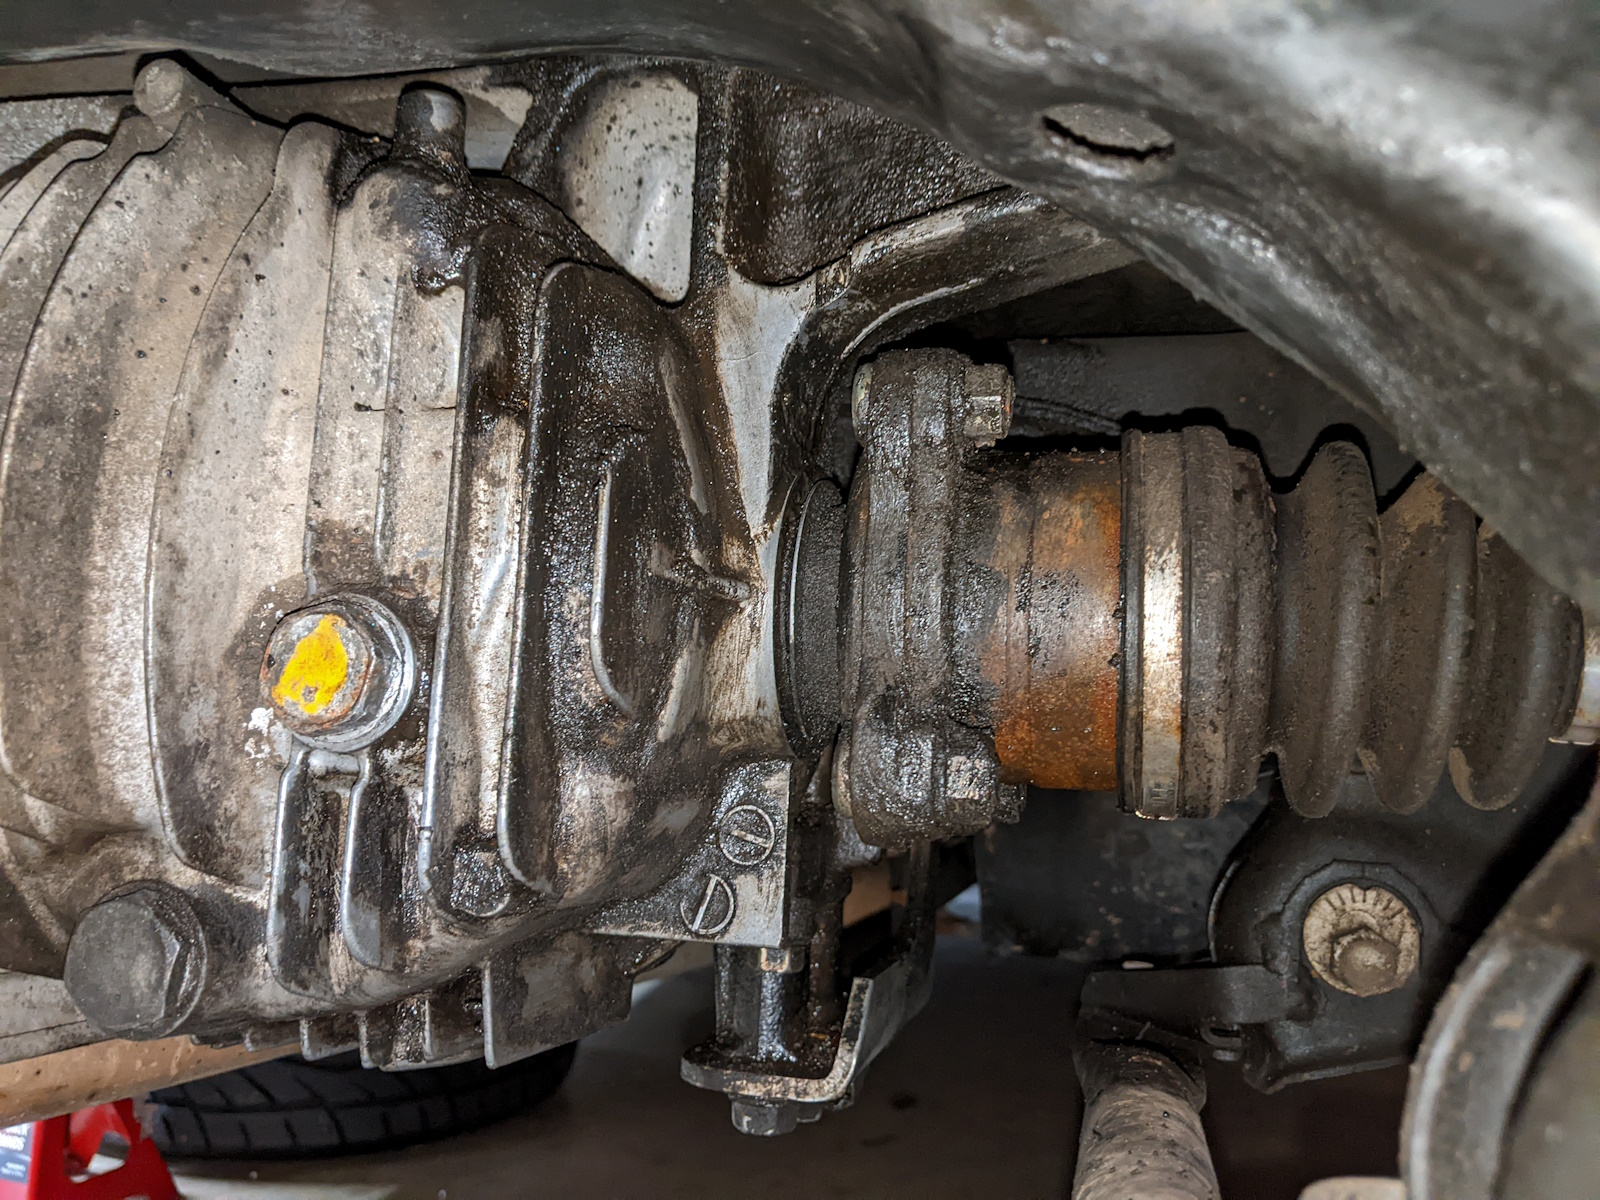
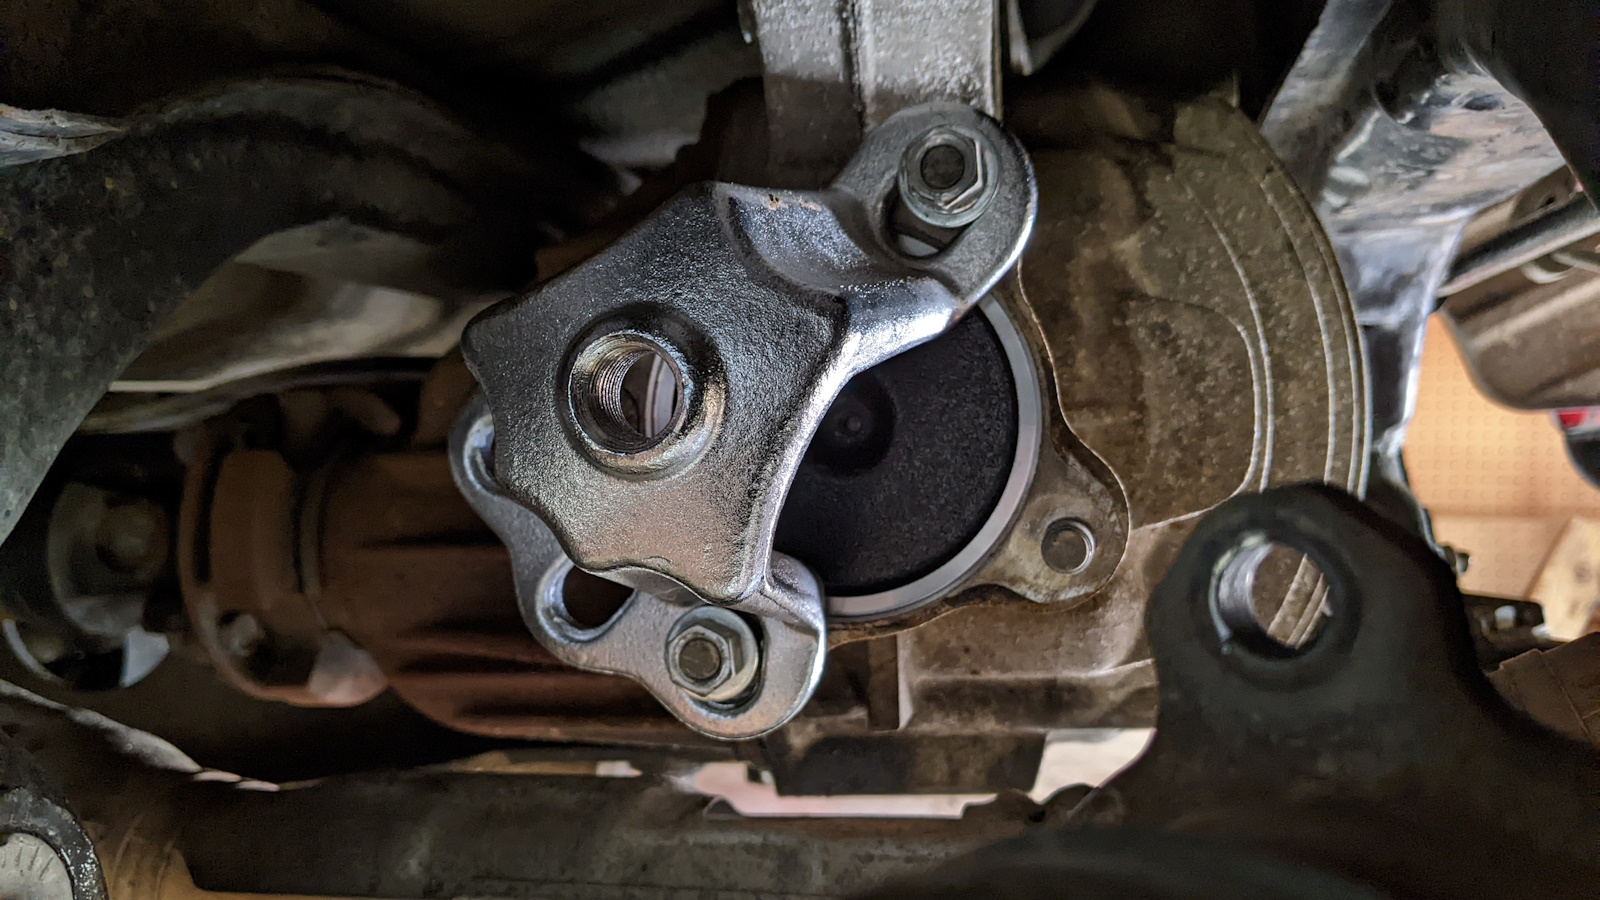
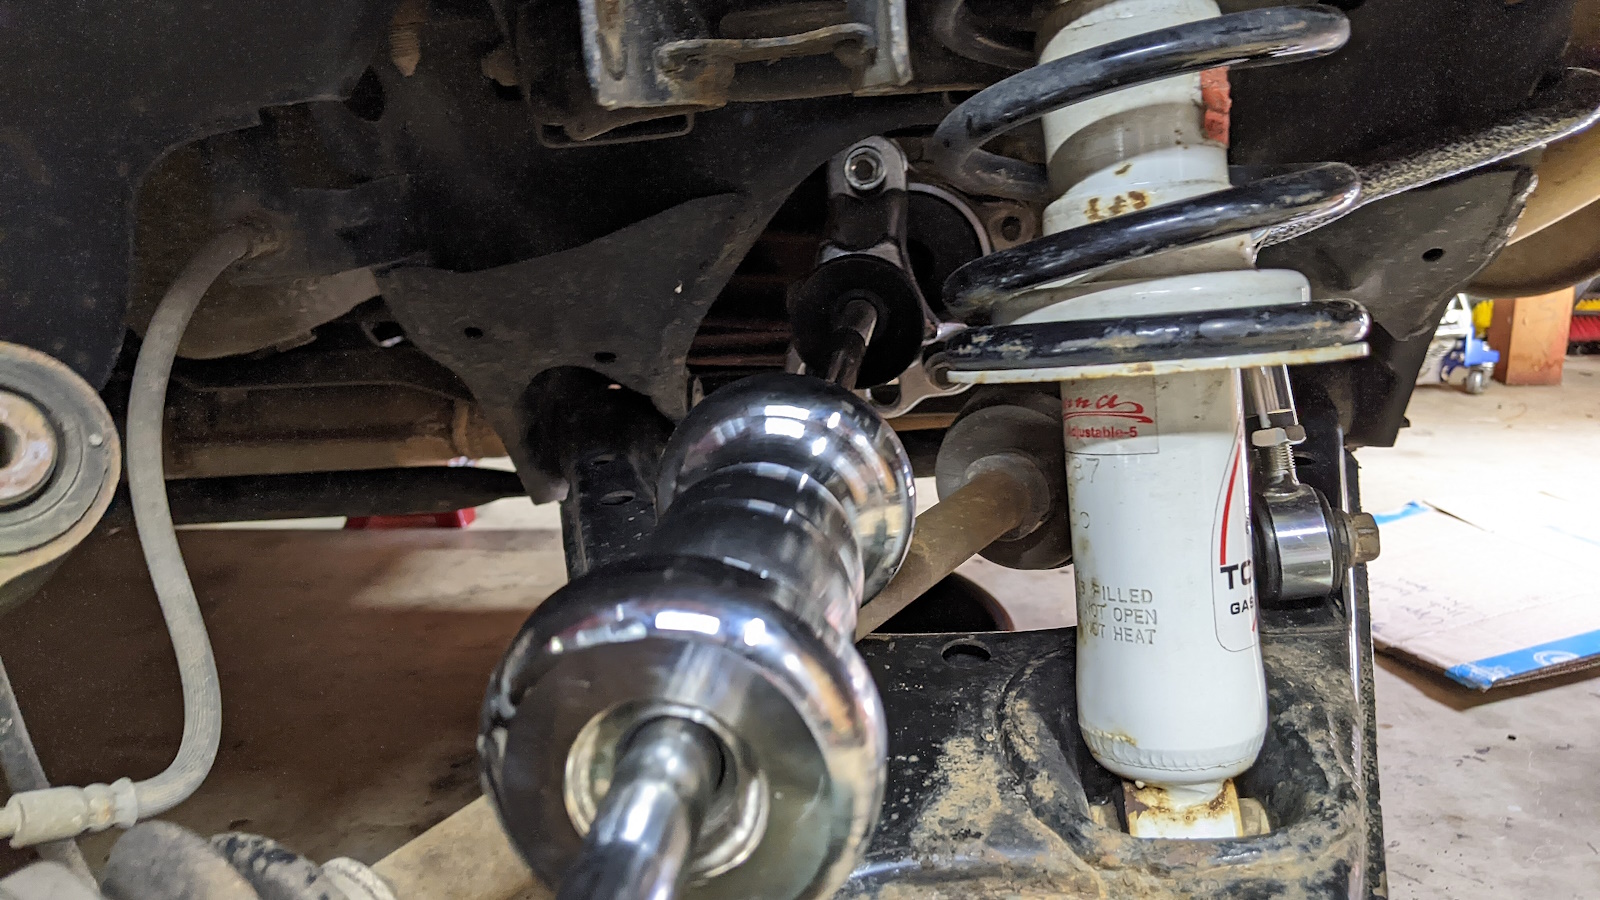
How to remove the axles from the differential depends on which version the car has. 1990 to early 1995 Miatas have two-piece rear drive axles, with an axle flange that inserts into the differential bolted to a separate CV axle. Newer Miatas have one-piece axles that connect directly into the differential. The best way to remove the two-piece axles is to separate them and use a slide hammer to remove the flange from the differential. For single piece axles, a pry bar on either side of the inboard housing can be used to pop it out. Two-piece axles can be interchanged with newer one-piece axles, but the 1.6 and 1.8 differentials use different length axles and different sized flanges. Beavis Motorsport has a great Complete Differential Guide.
Both axle seals were replaced, so the pictures below switch between the left and right side.
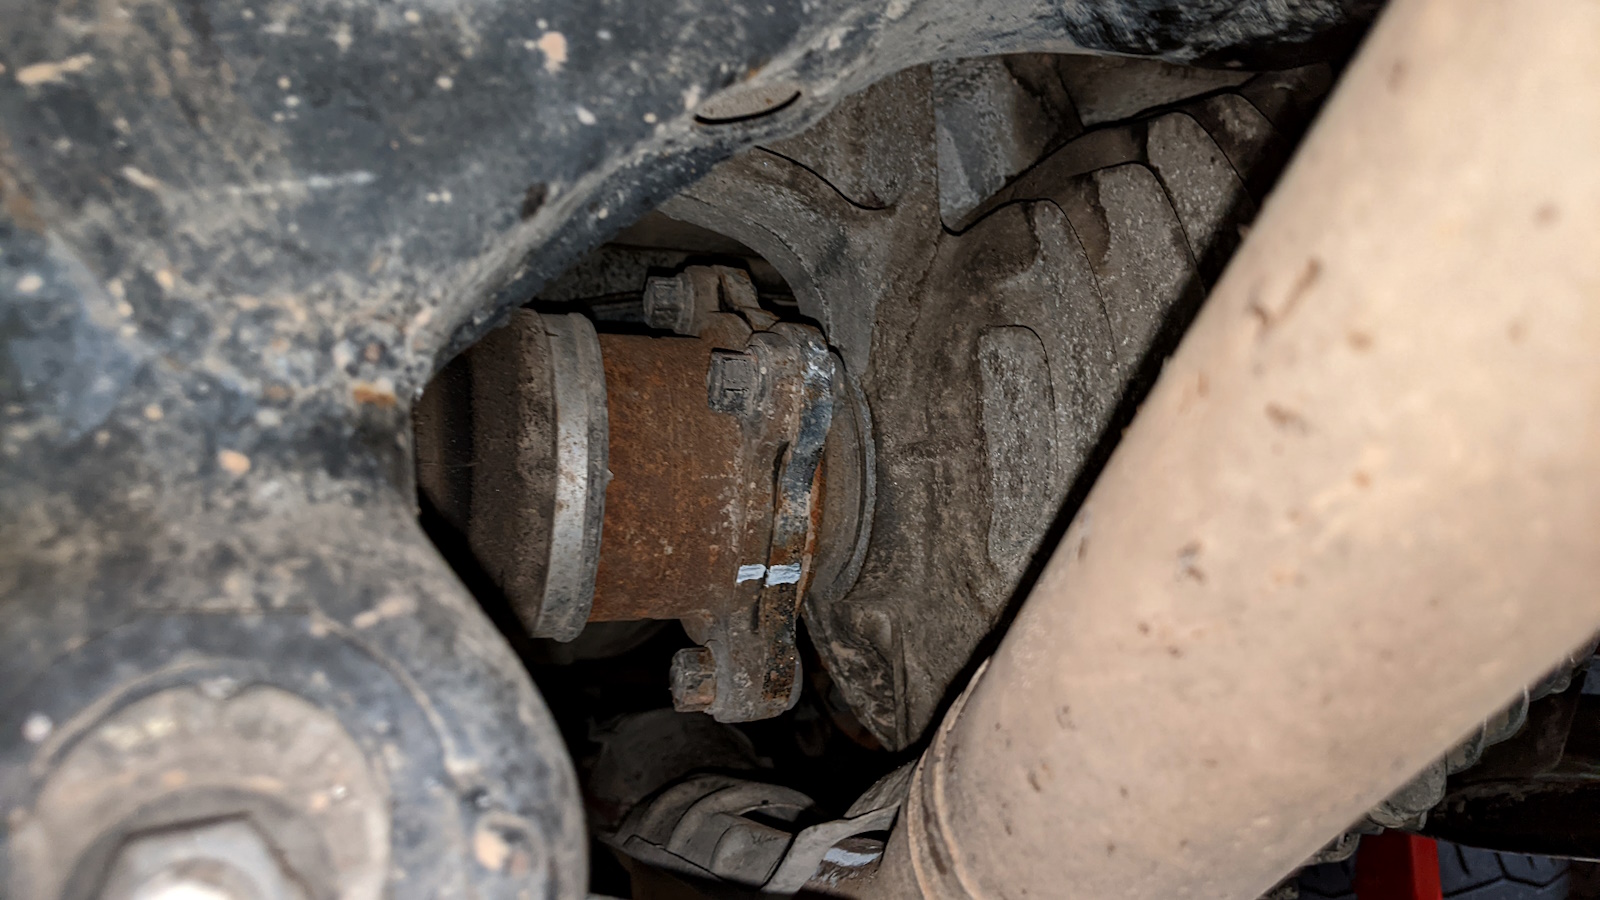
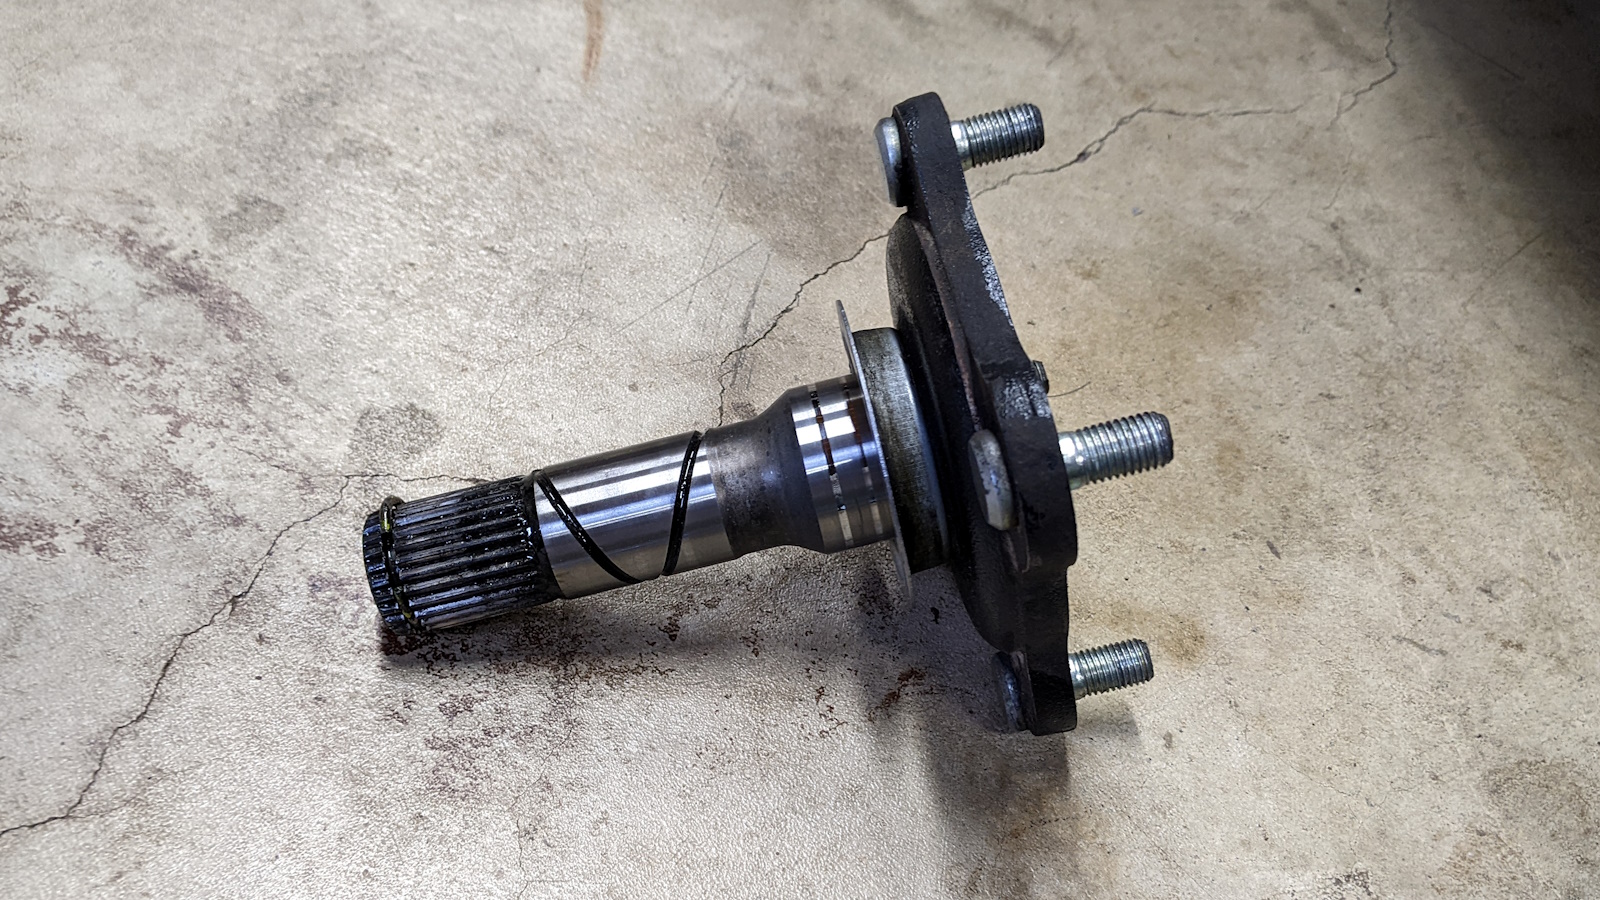
I saw a tip while I was working on this maintenance to mark the stub axle flanges so that they go back together in the same orientation. It’s probably not critical, but might prevent unbalanced rotation.
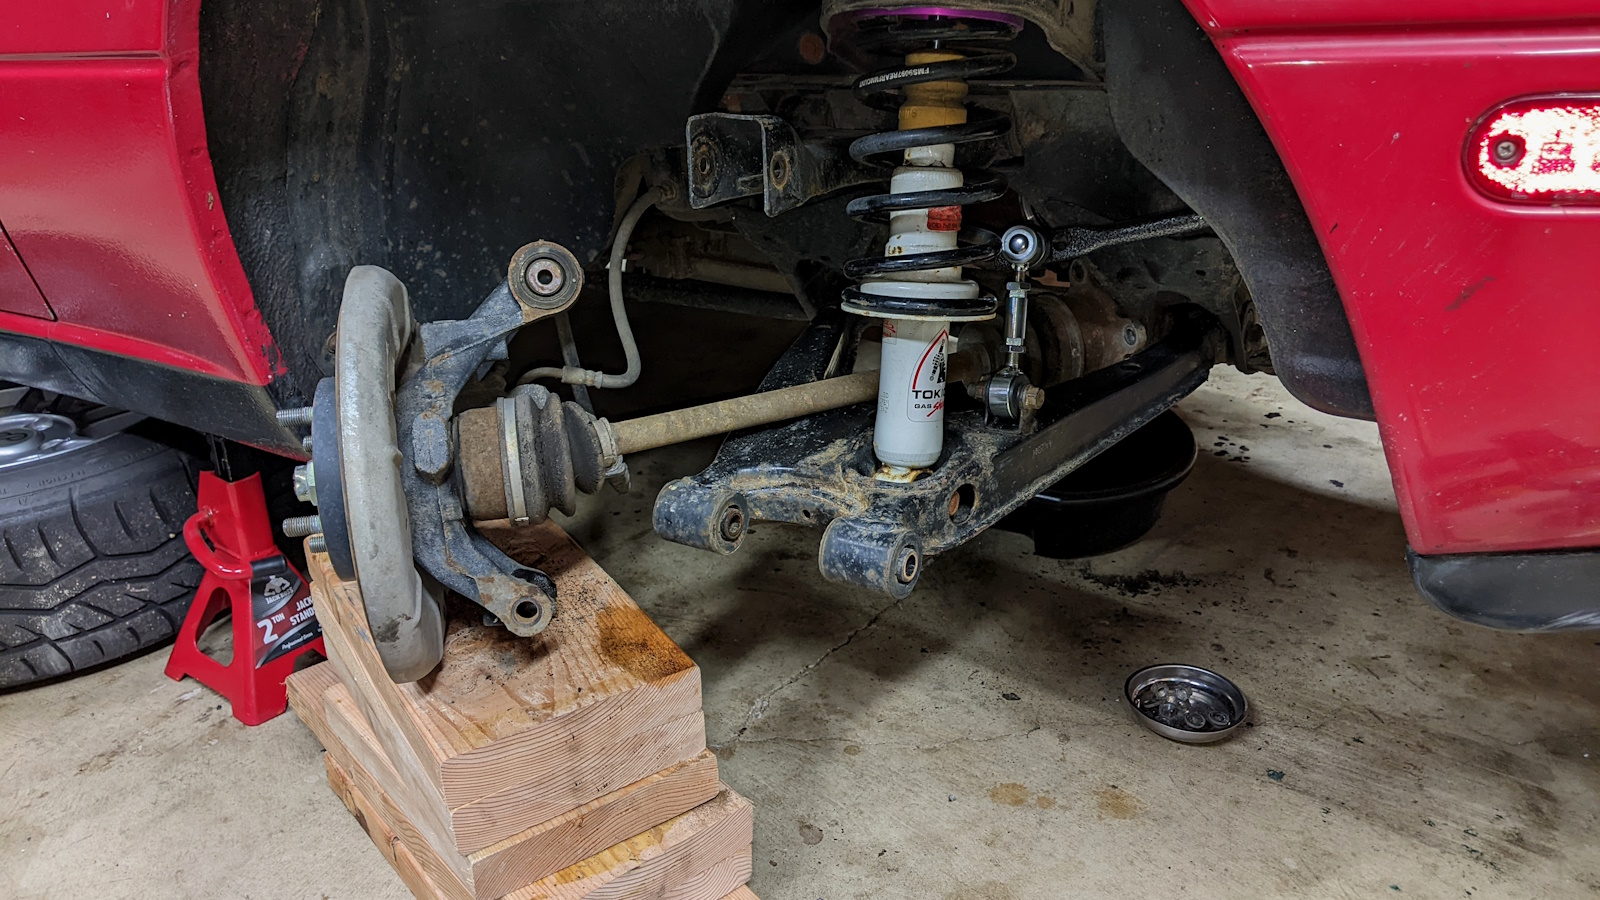
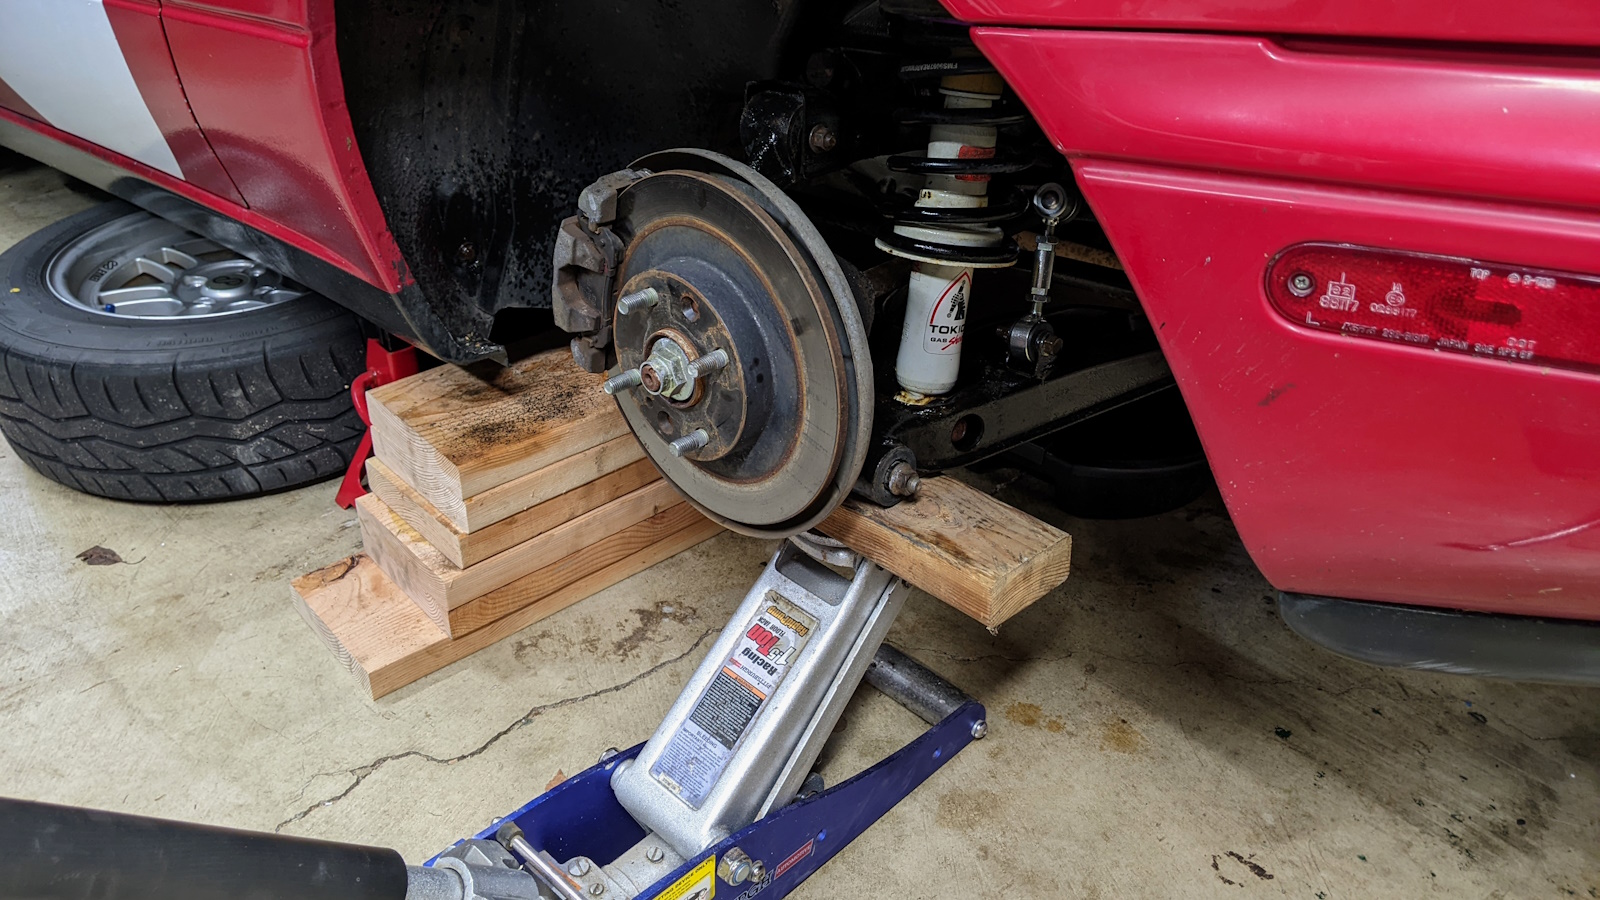
The hub is propped up on some wood boards to prevent pulling on the brake line.
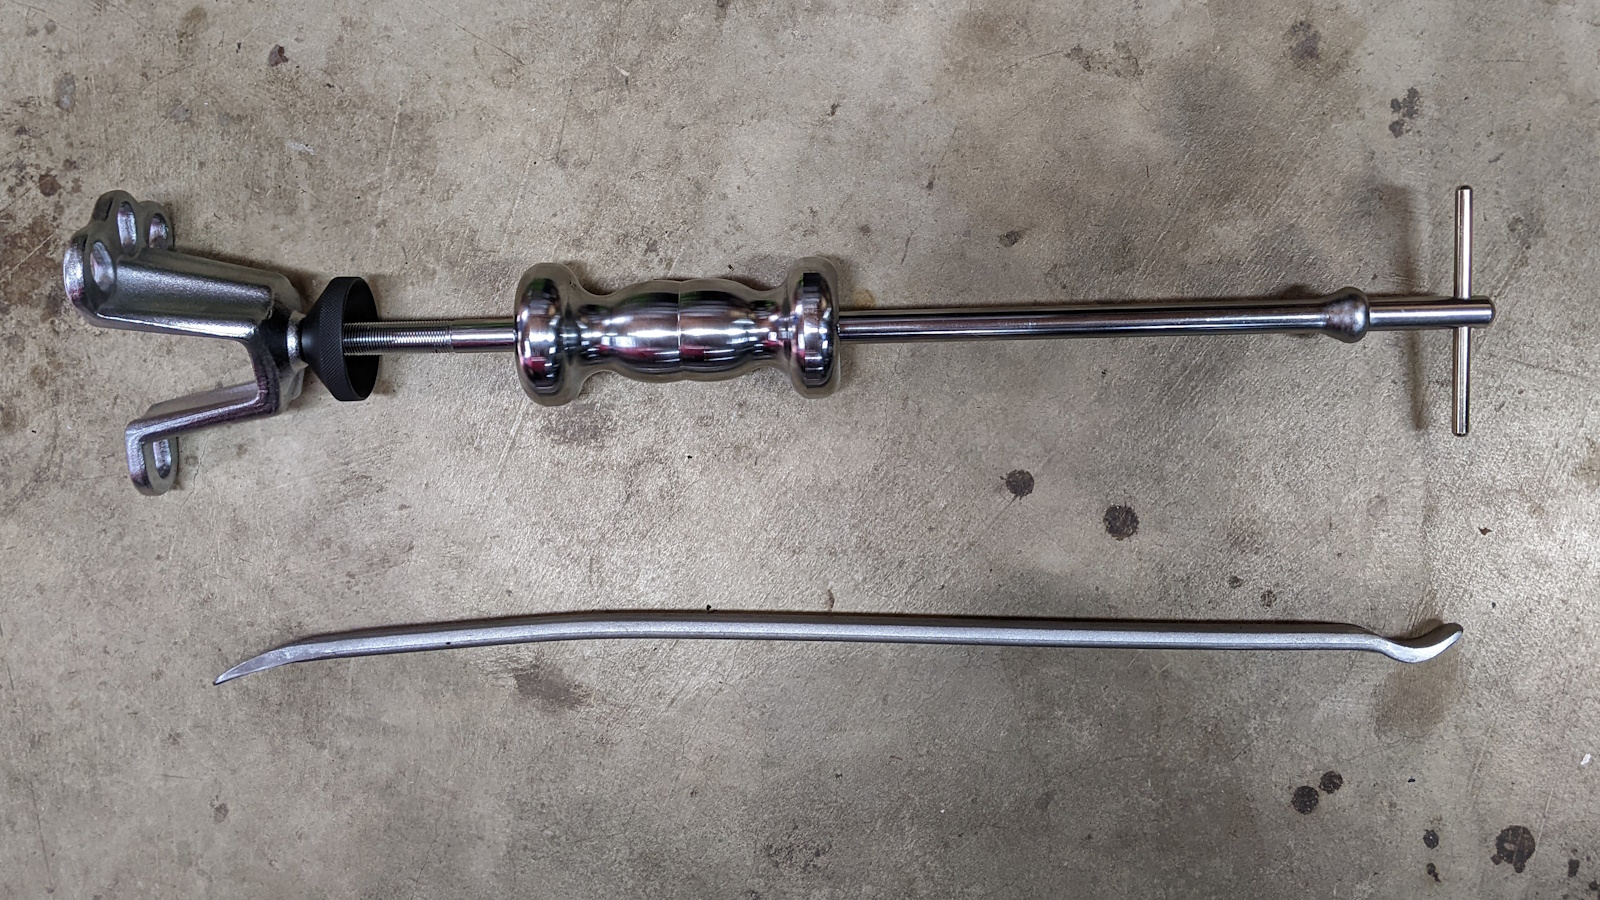
Here’s a very concise video from Miata University that shows how to remove the drive axle flange from the differential.
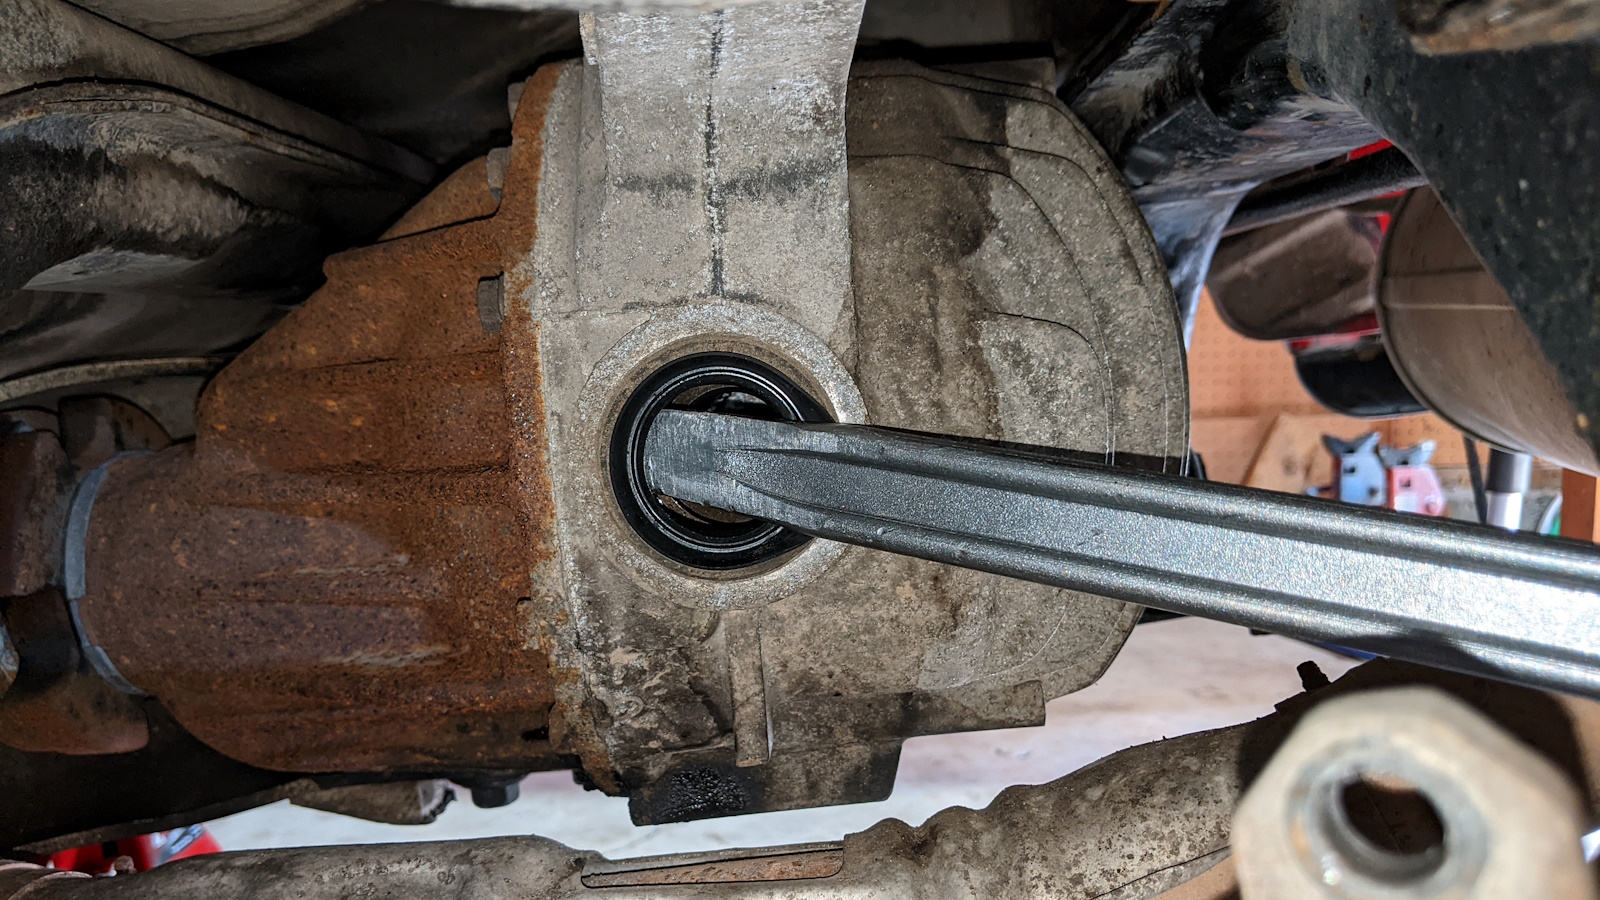
There is a retaining clip at the end of the spline shaft that keeps the axle secured in the differential.
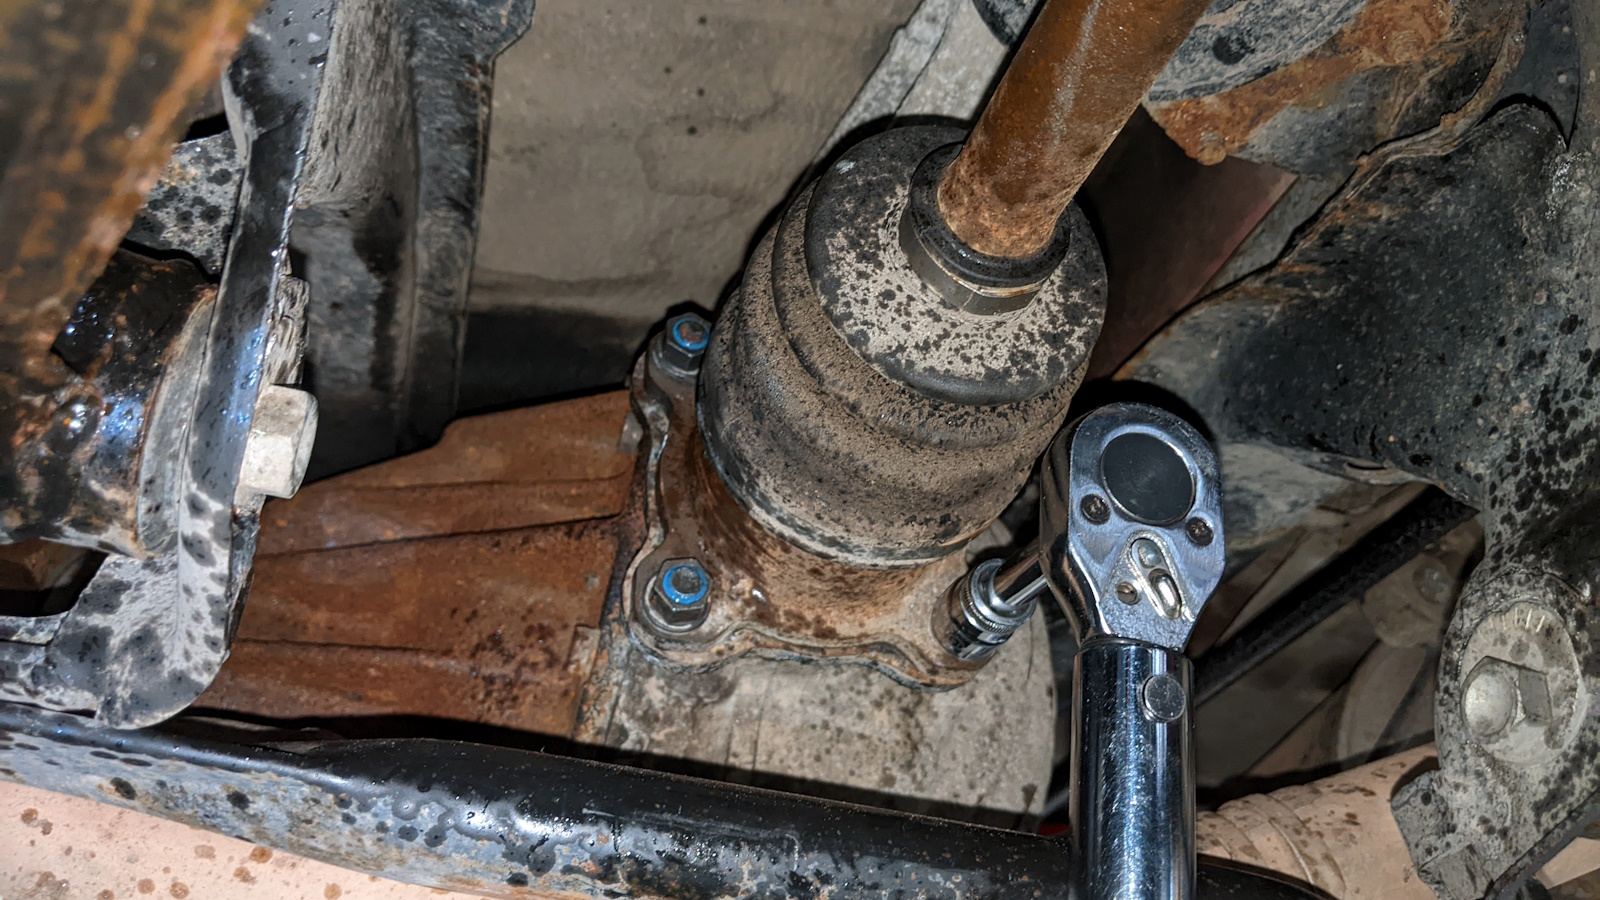

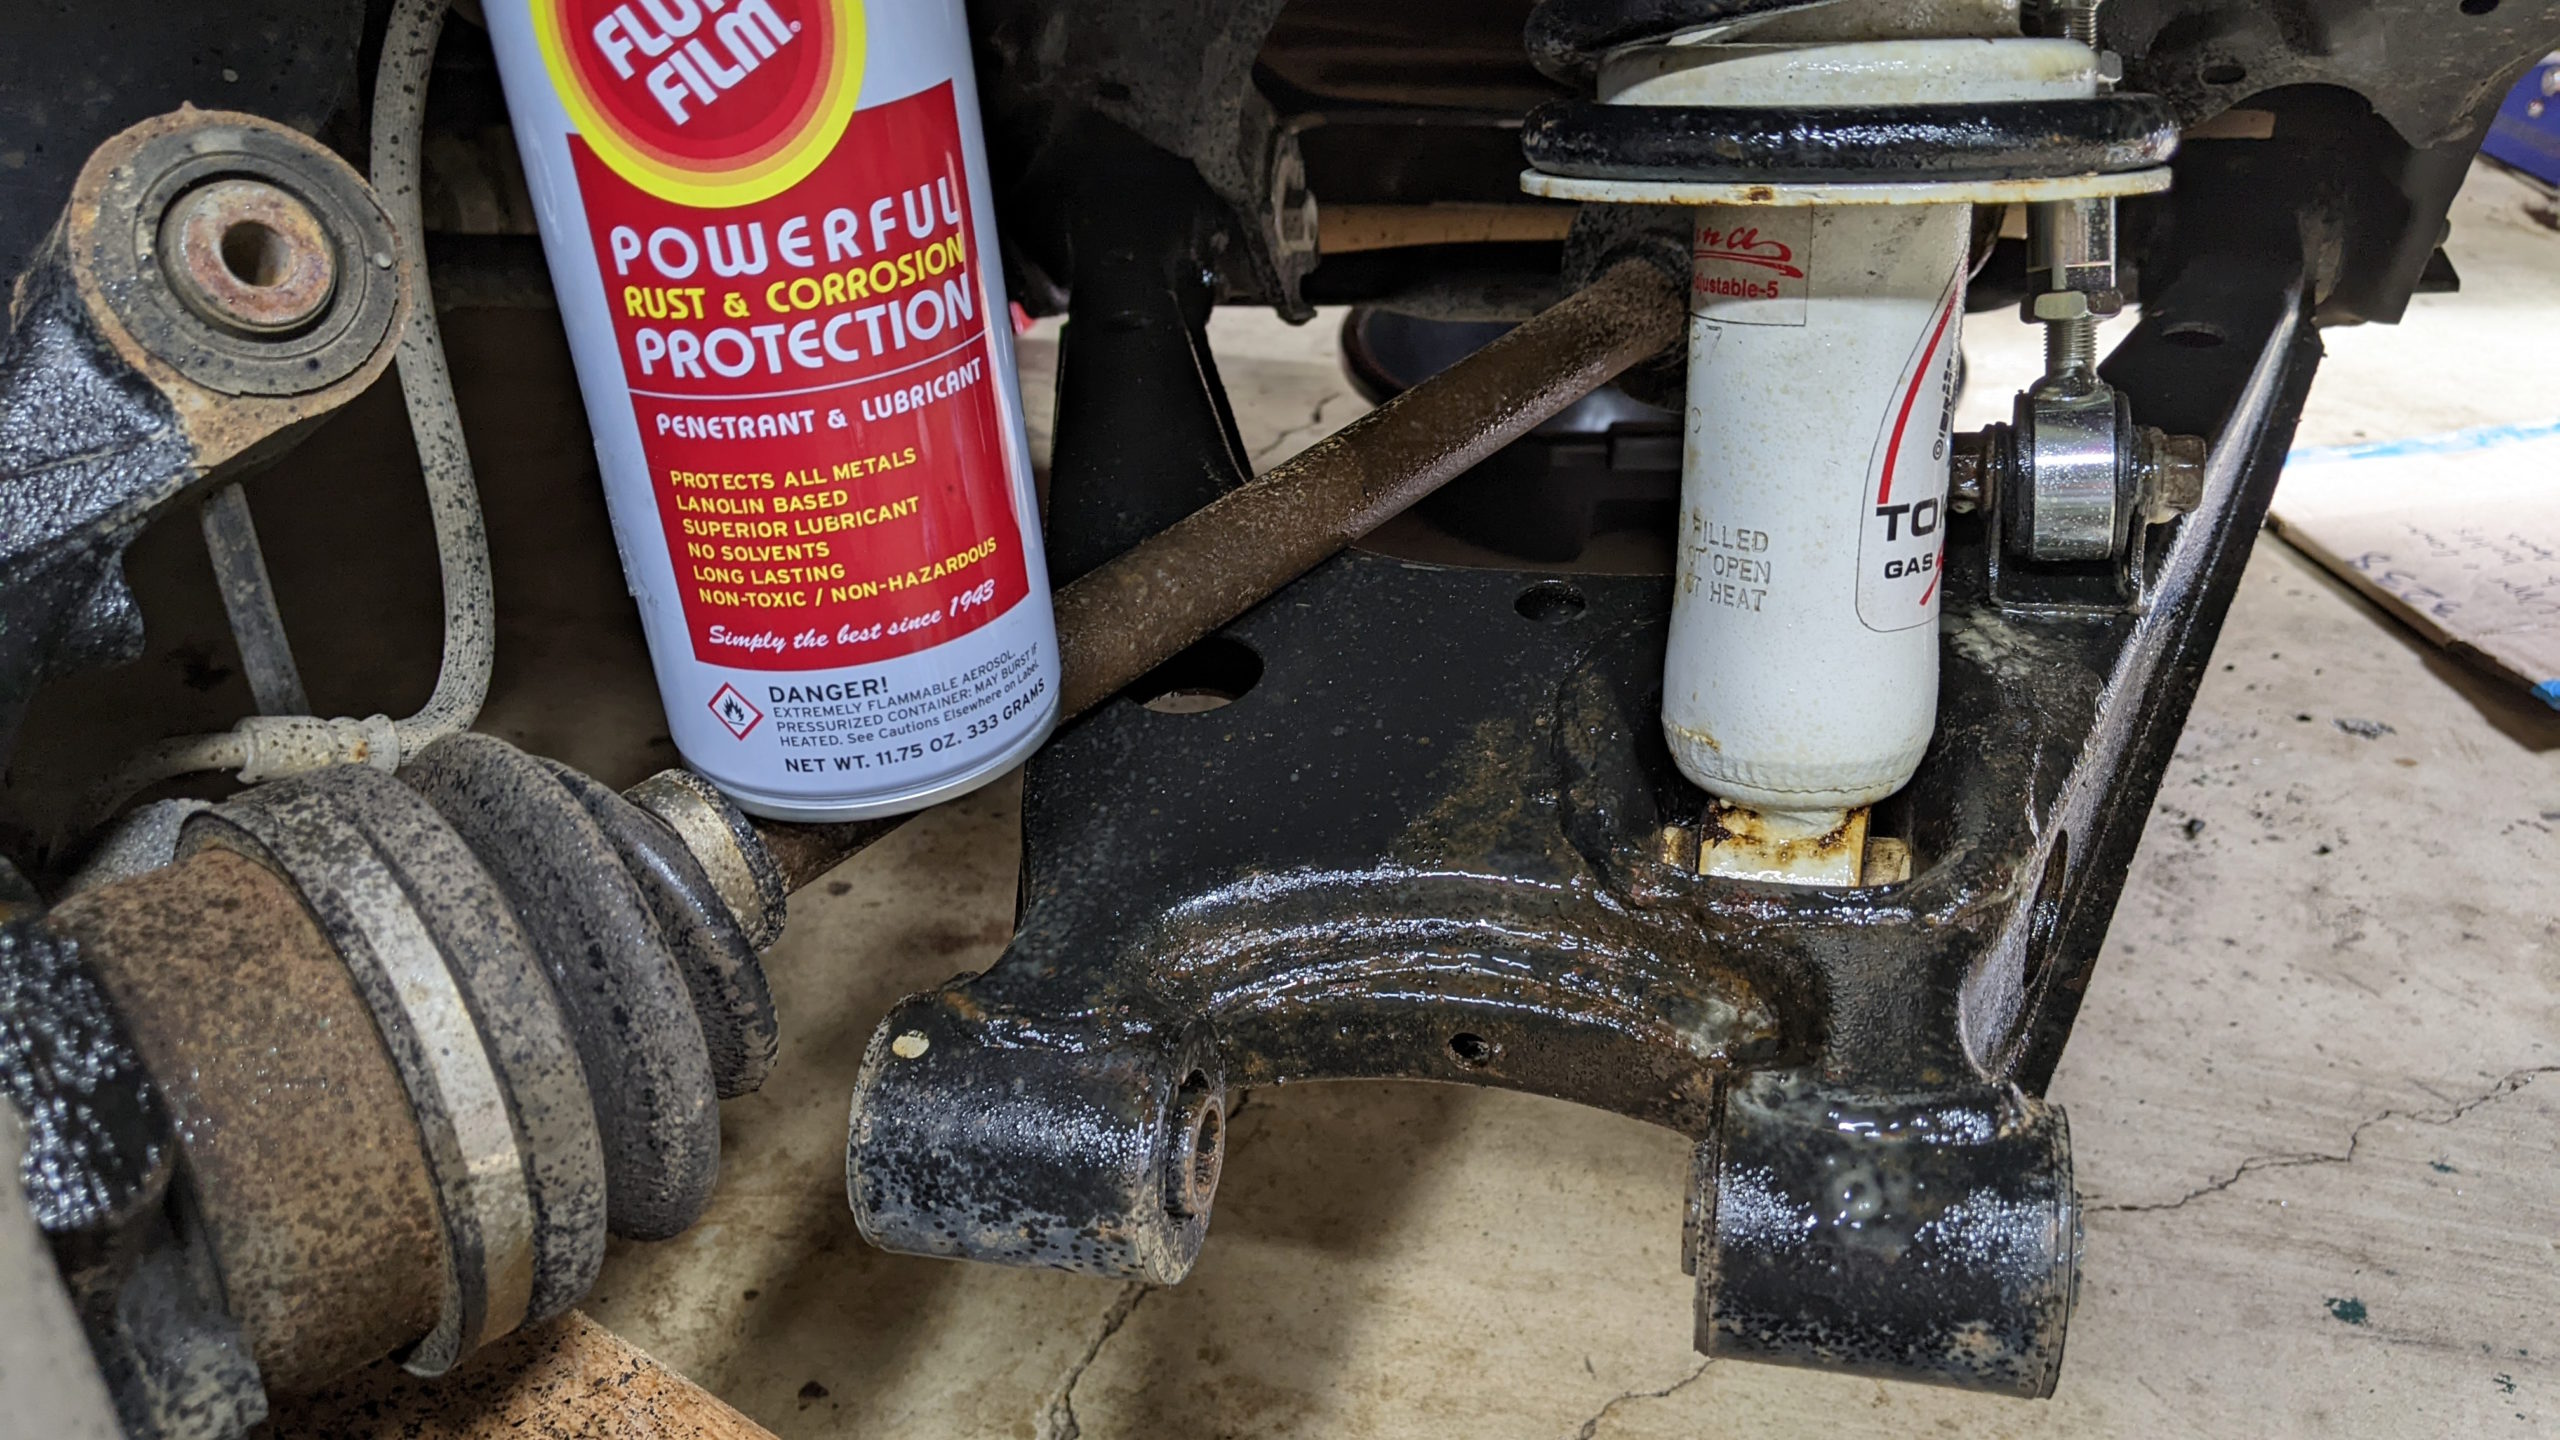
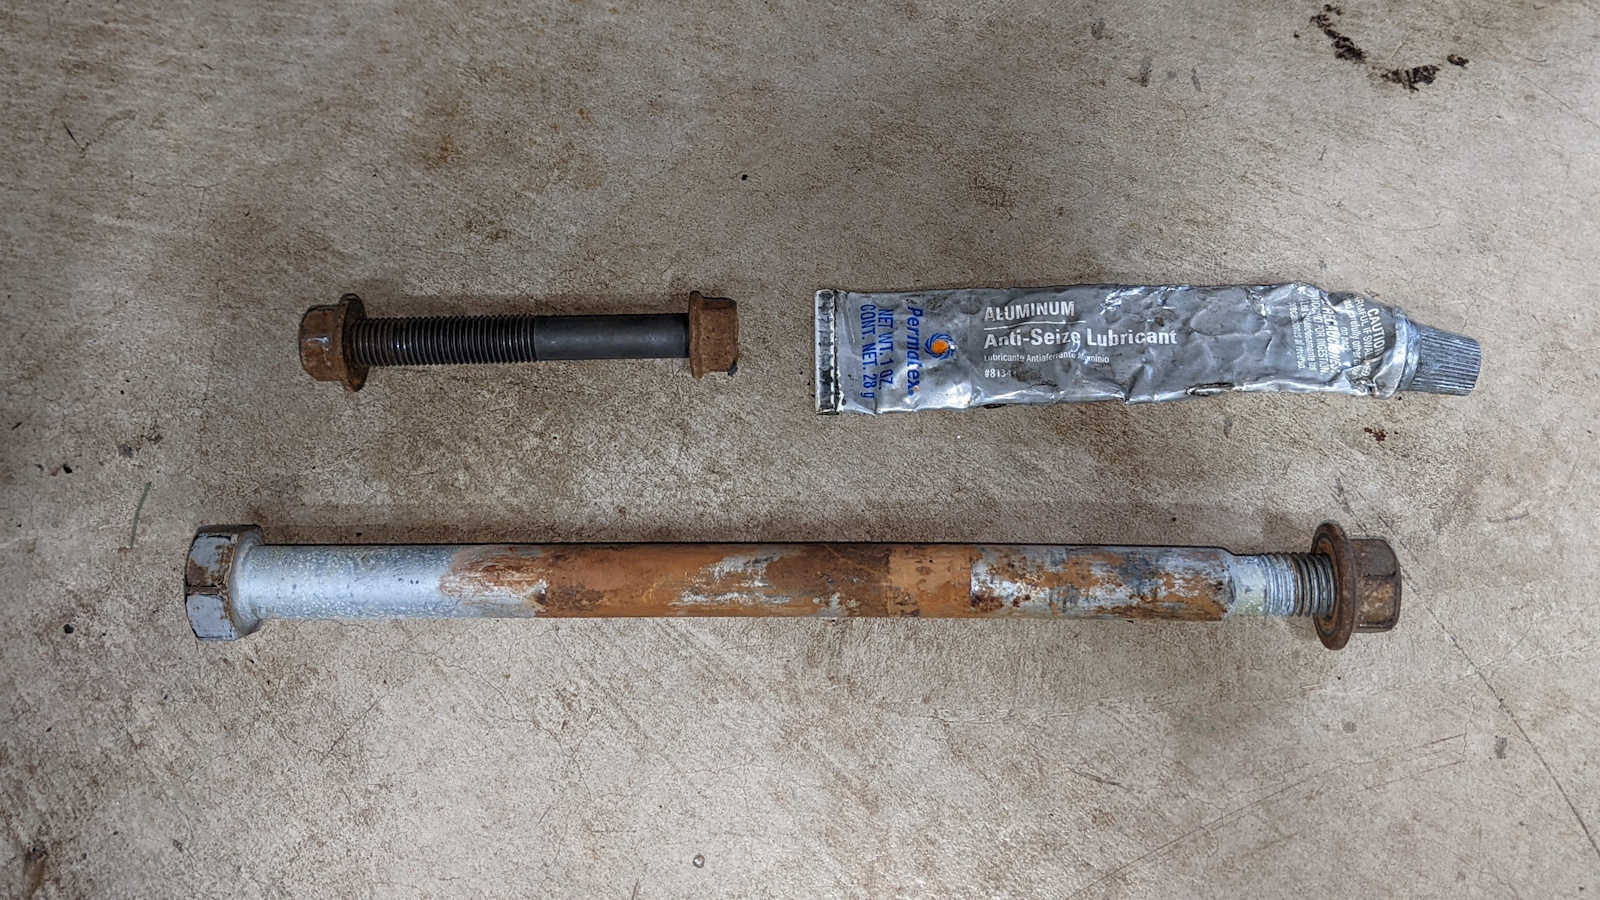
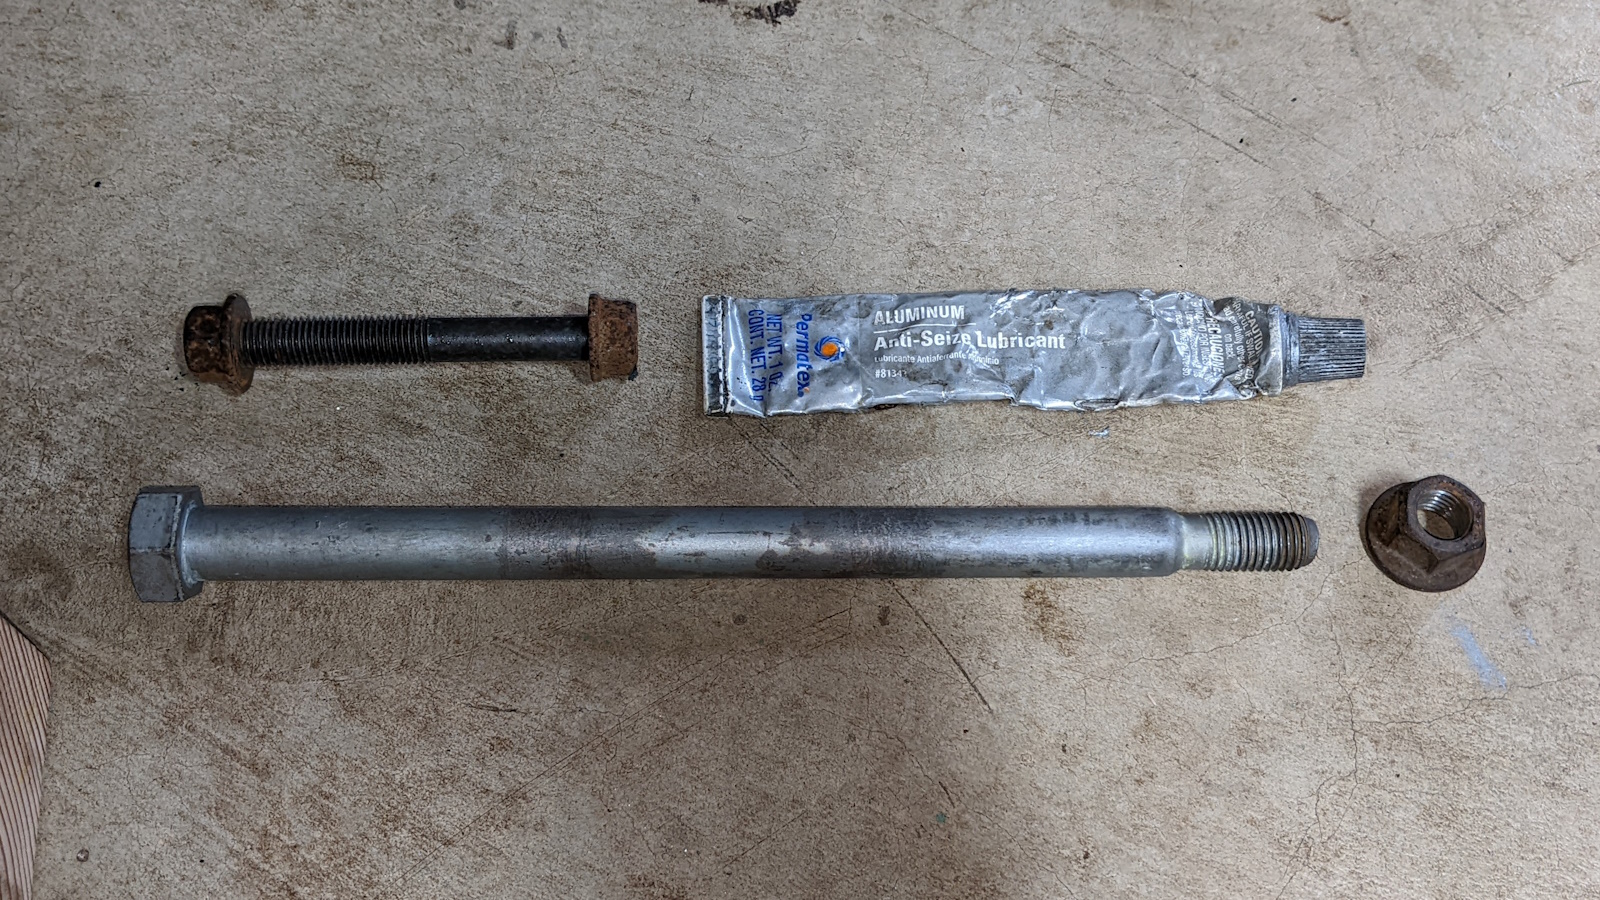
The long lower suspension control arm bolt can be a pain to remove if the rust has a chance to build up.
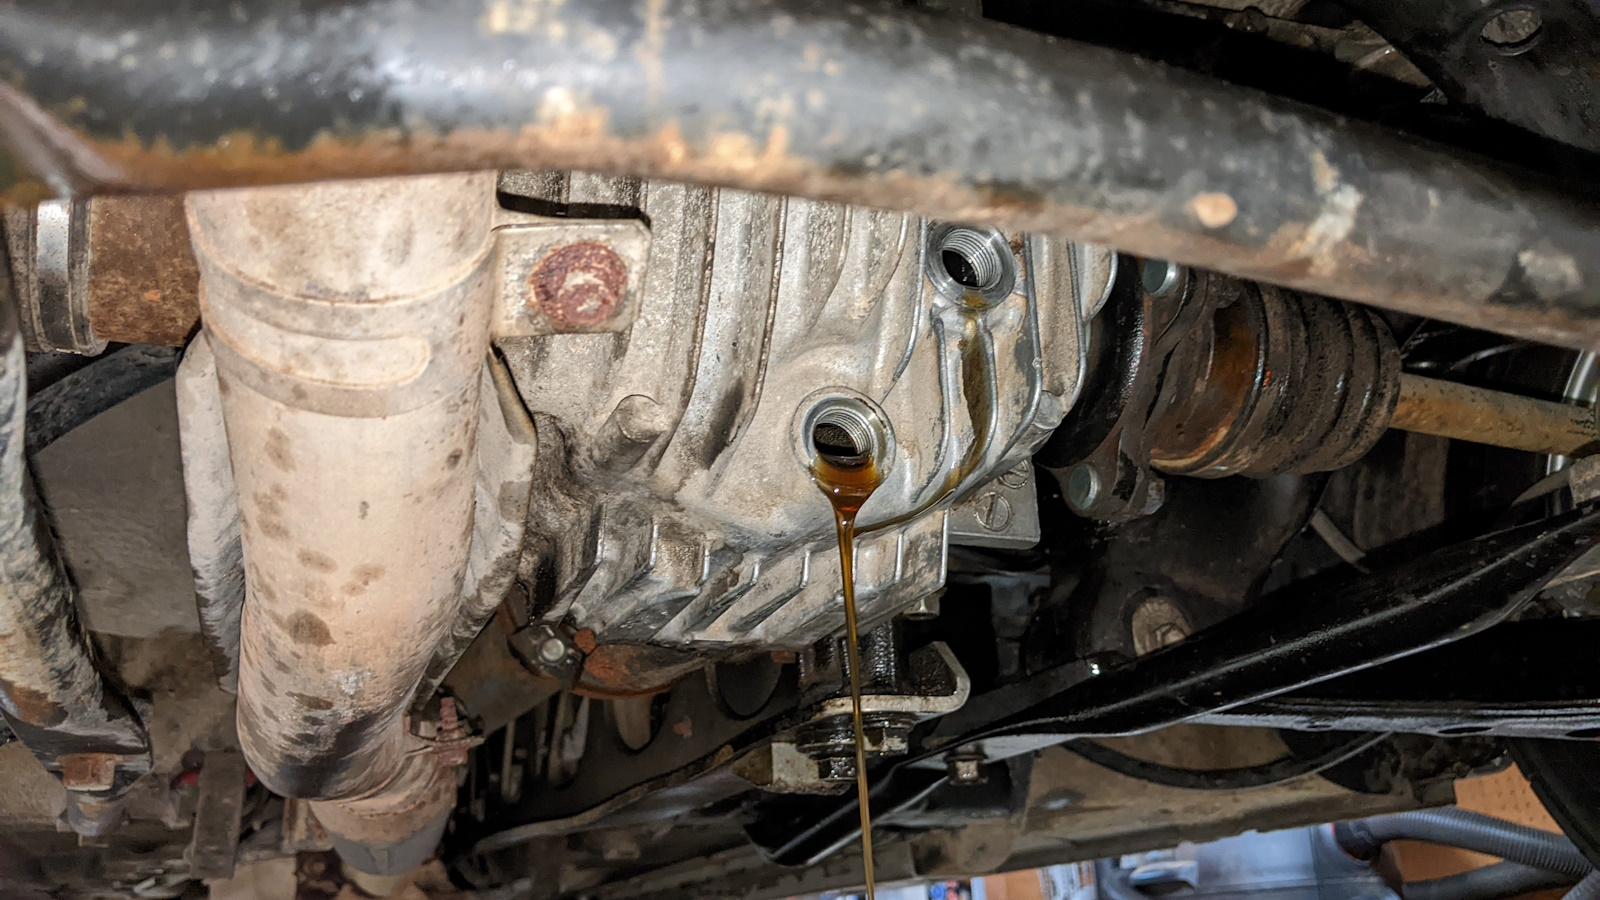
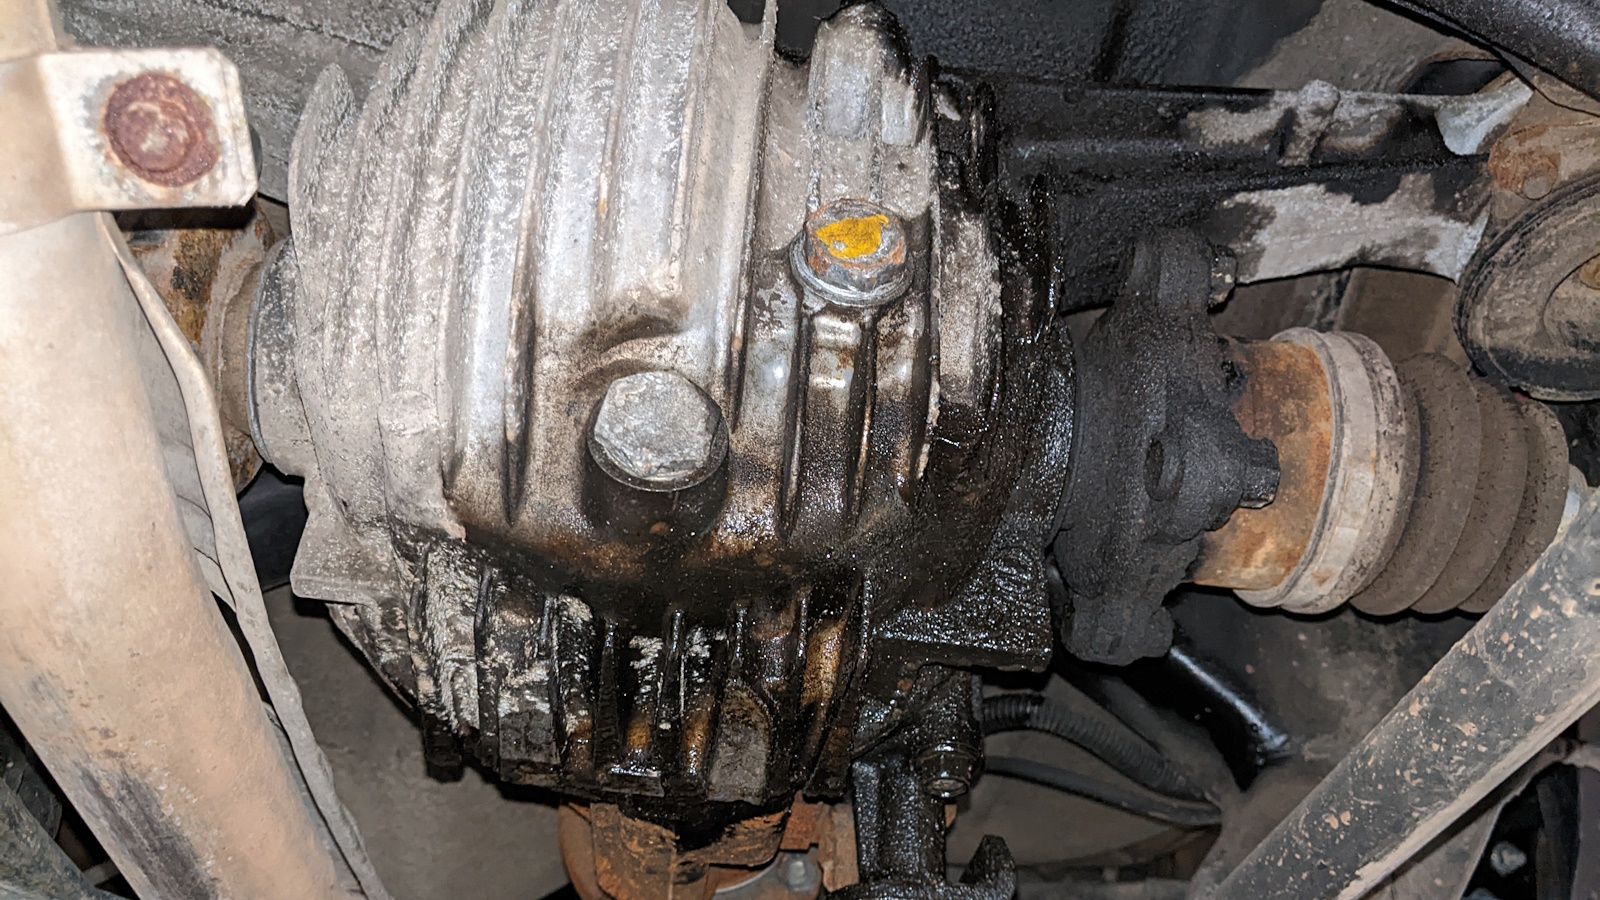
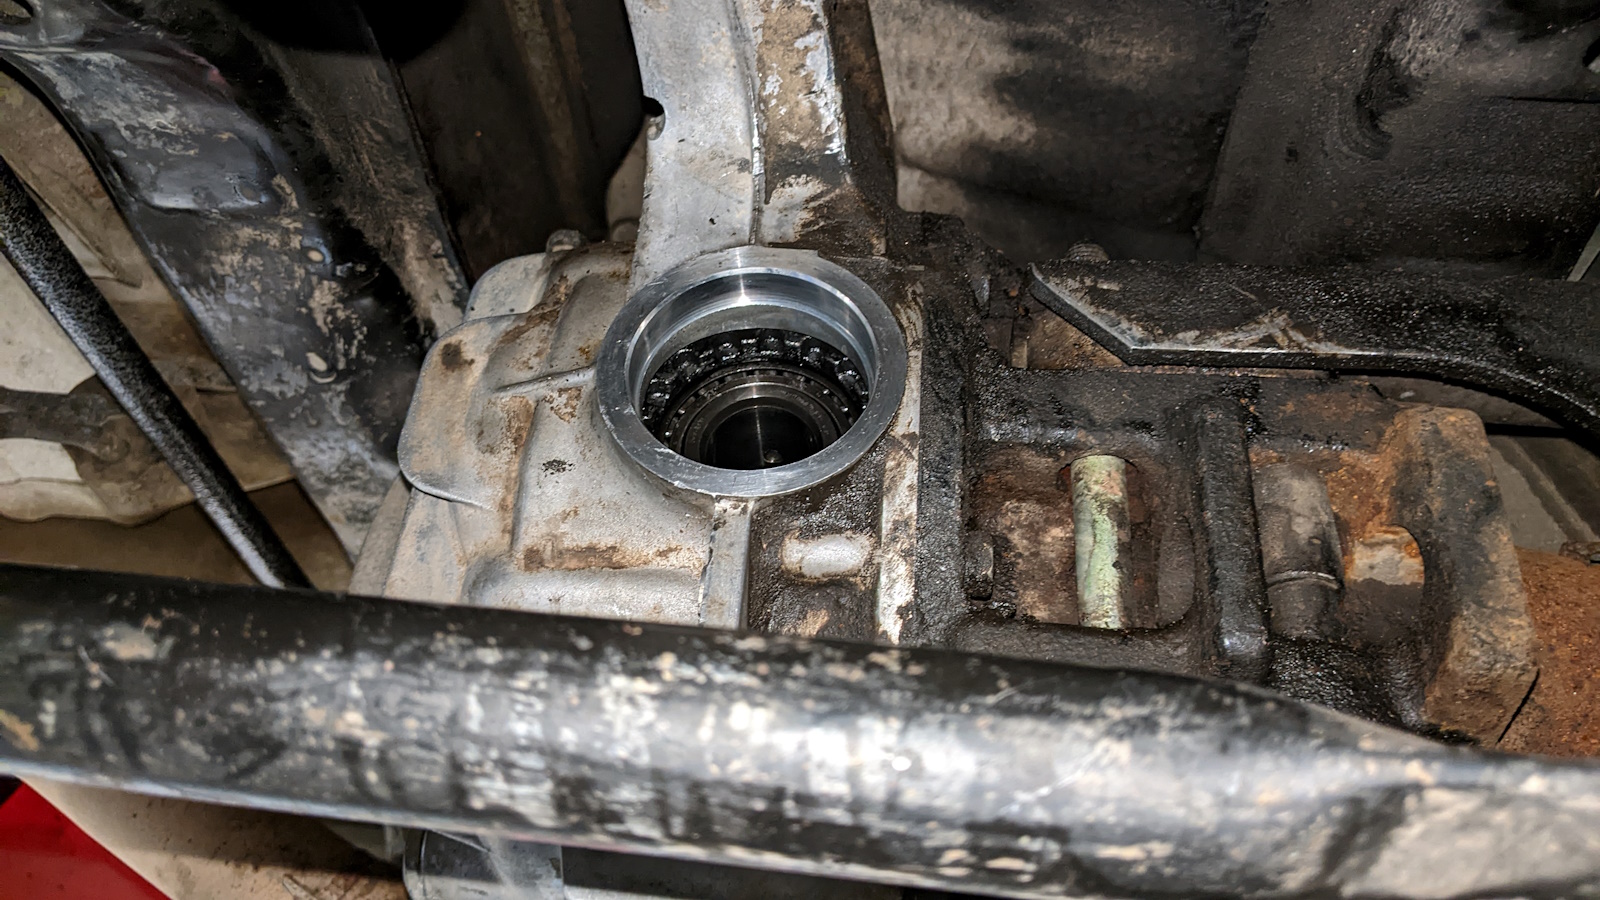
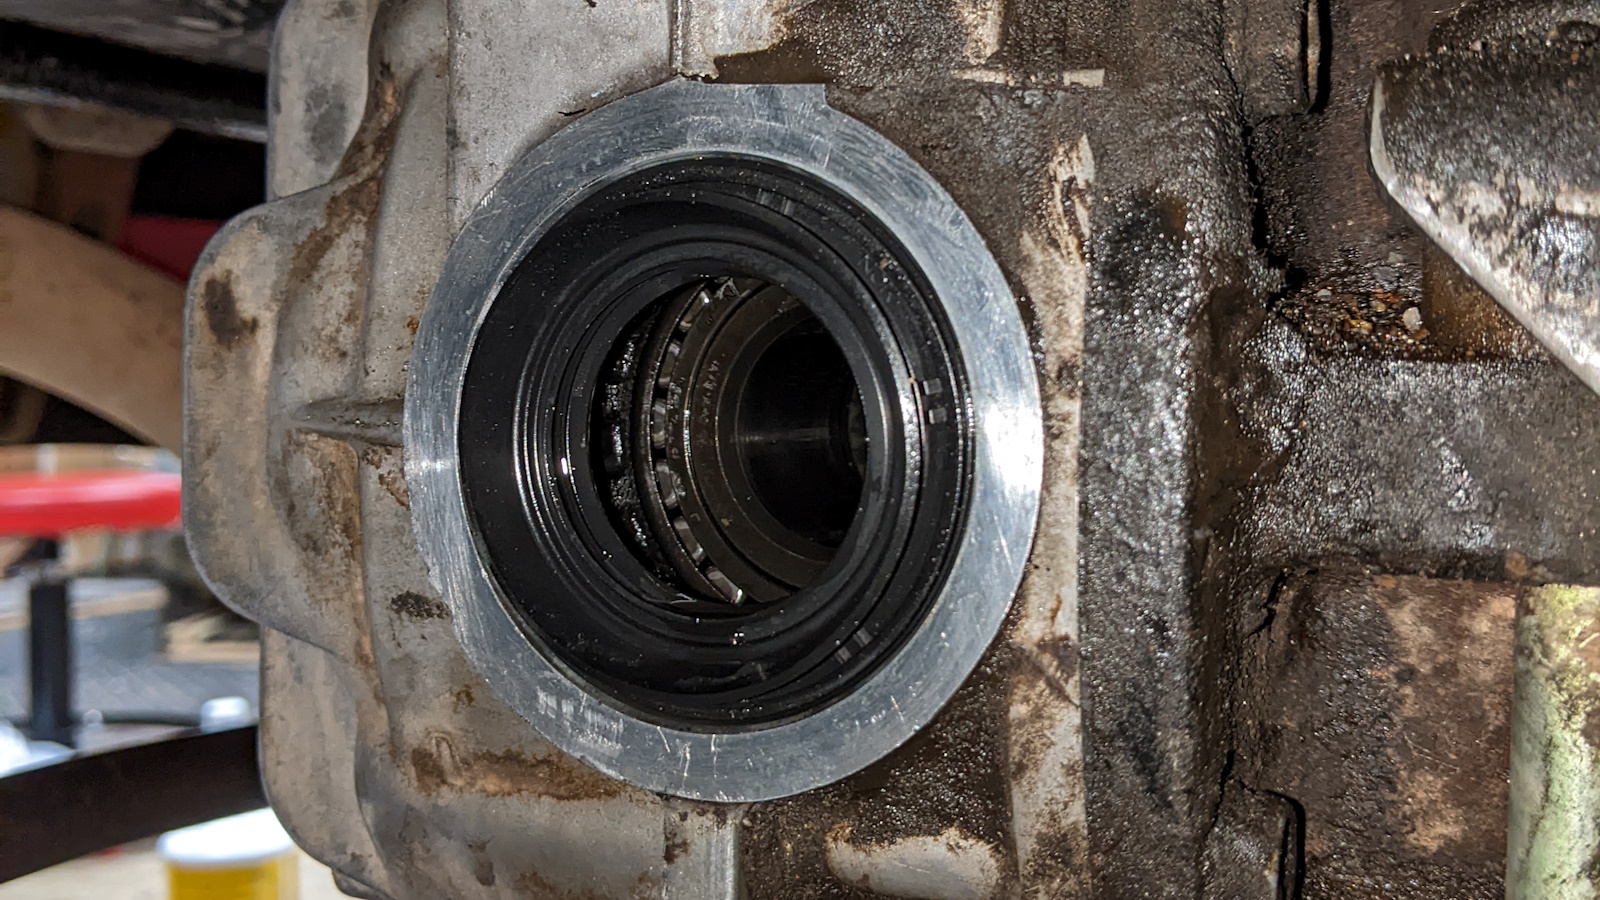
No differential fluid leaked out the axle shaft openings while those seals were being replaced. The level was probably low because of how much had escaped the seal, but I knew I wanted to replace the fluid after the seals anyway.
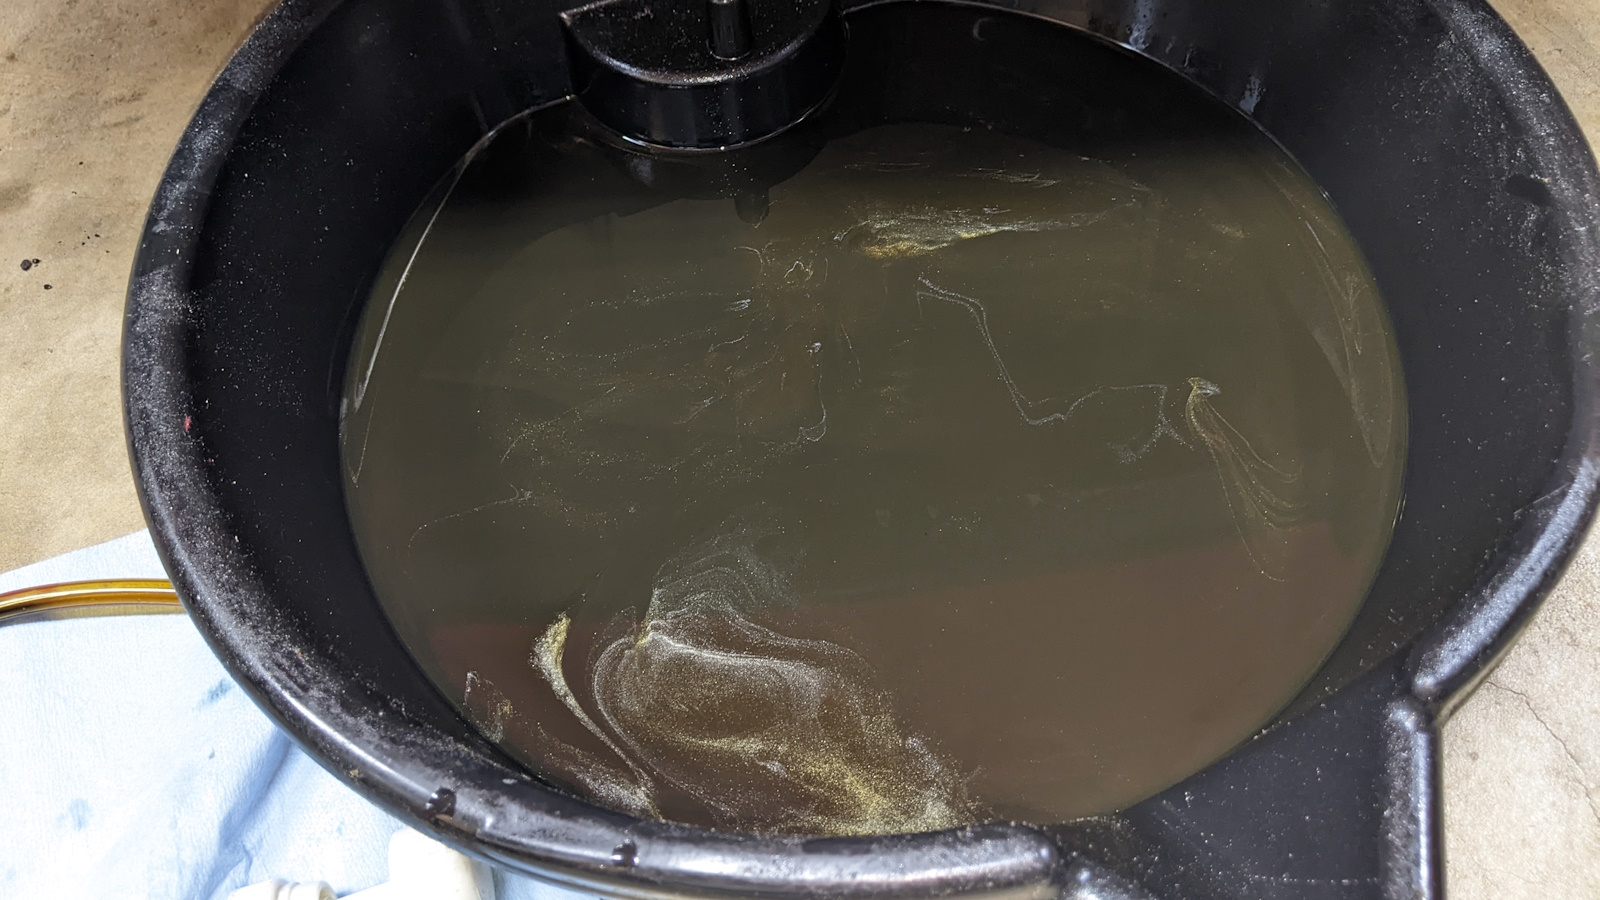
This would be a worrying amount of glitter in engine oil, but hopefully just regular wear in the torsen differential. Big chunks in the oil or attached to the drain plug magnet would be much worse.
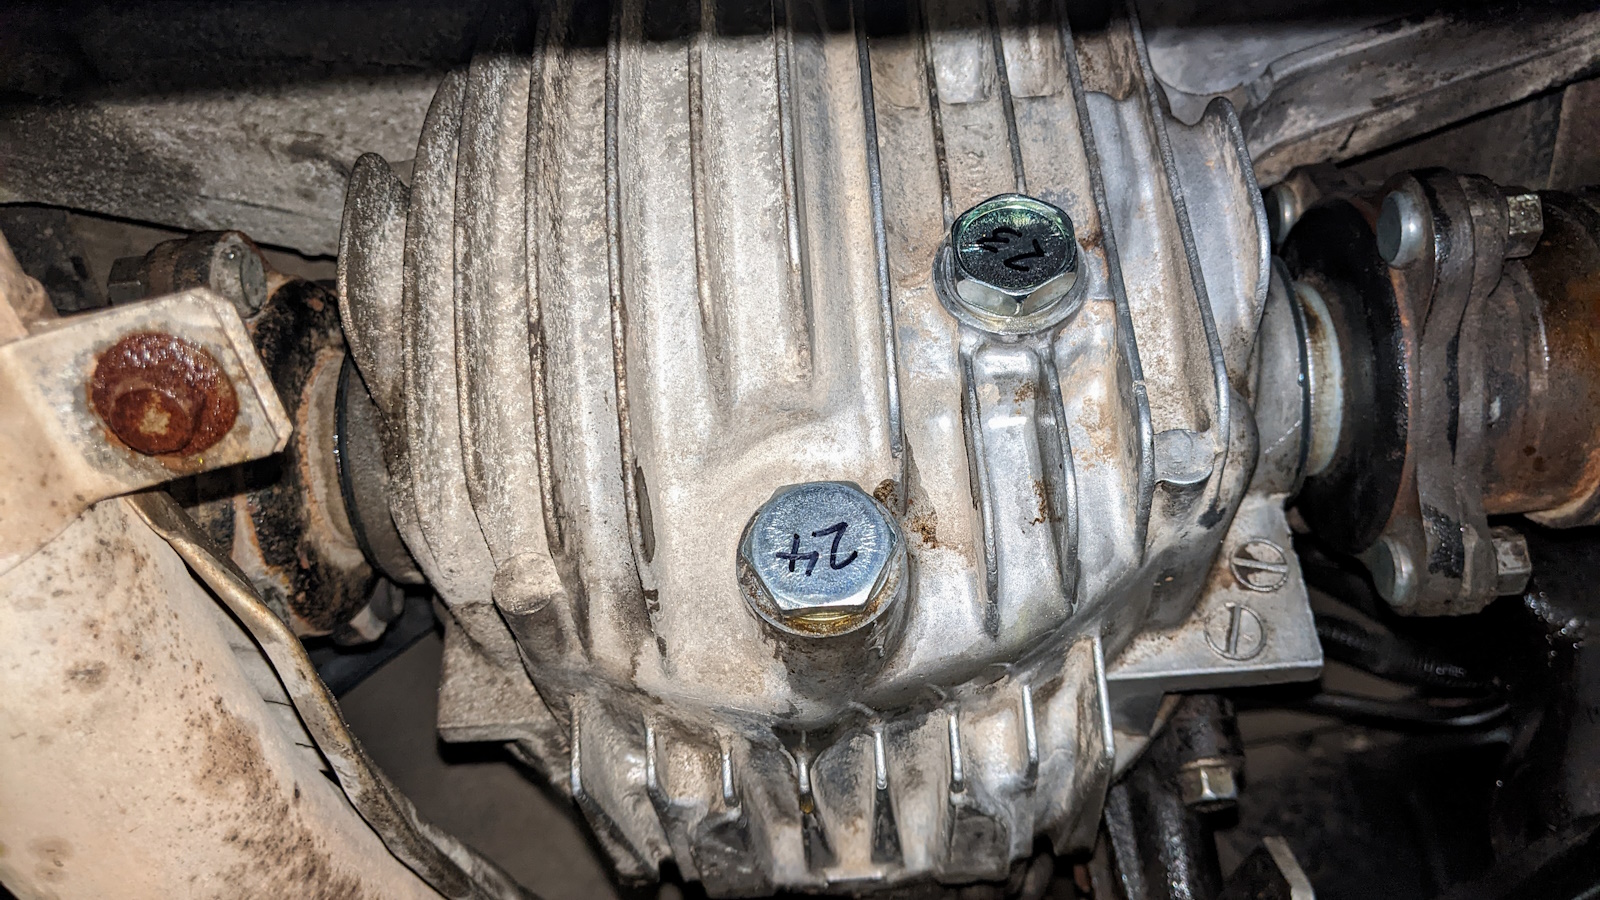
Annoyingly, Mazda used different size bolts for the drain and fill bolts. I replaced them and labeled the socket size with a sharpie, which might wear off by the time I service the diff again. It’s apparently common for the fill bolt to be rounded off by a tech assuming it also uses a 24 mm socket. I read one recommendation to use magnetized drain bolts for both to avoid confusion.